Nourishing Green Soup

It’s currently the middle of winter and I’m noticing the effects of less sun and movement in my physical and mental health. My body is craving comfort and nourishment. Soup is one of my favorite easy comfort dishes to make – and it can be an incredibly healthy super food as well! This soup is all of those things: Comforting, fast, simple, healing, nourishing, delicious – and packed with lots of greens, vegetables, and protein rich broth.

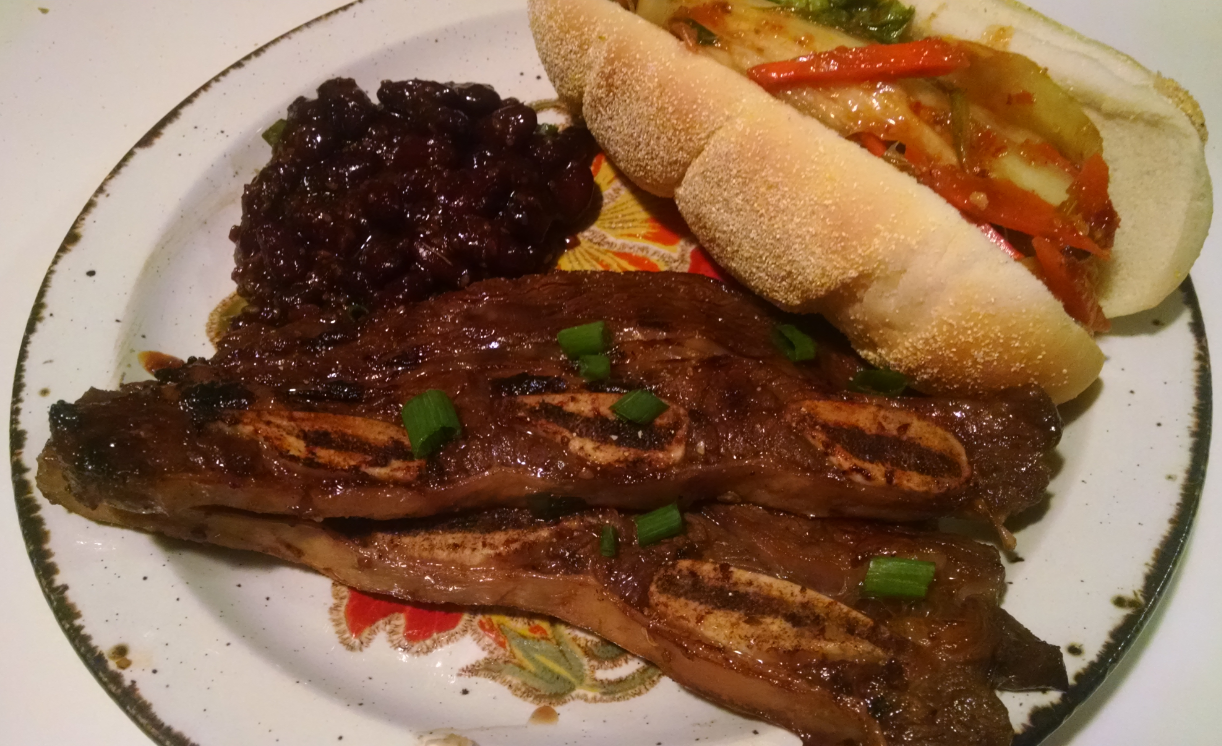
I wanted to make a small batch (which is something I find nearly impossible to do) – so this is my little recipe for Green Soup For Two. The ingredient amounts might sound a little funny, I’m just describing what I used as I started cooking tonight. It turned out pretty darn great if I do say so myself. This would be amazing served with some crusty bread slathered in butter (which I did not have).

This soup is gluten free and can be dairy free (if an alternative oil is used in place of the butter). It also falls into the “S” category for anyone following THM. It can ALSO easily be made vegetarian or vegan by using an alternative broth option! Super easy to tweak to whatever you require.
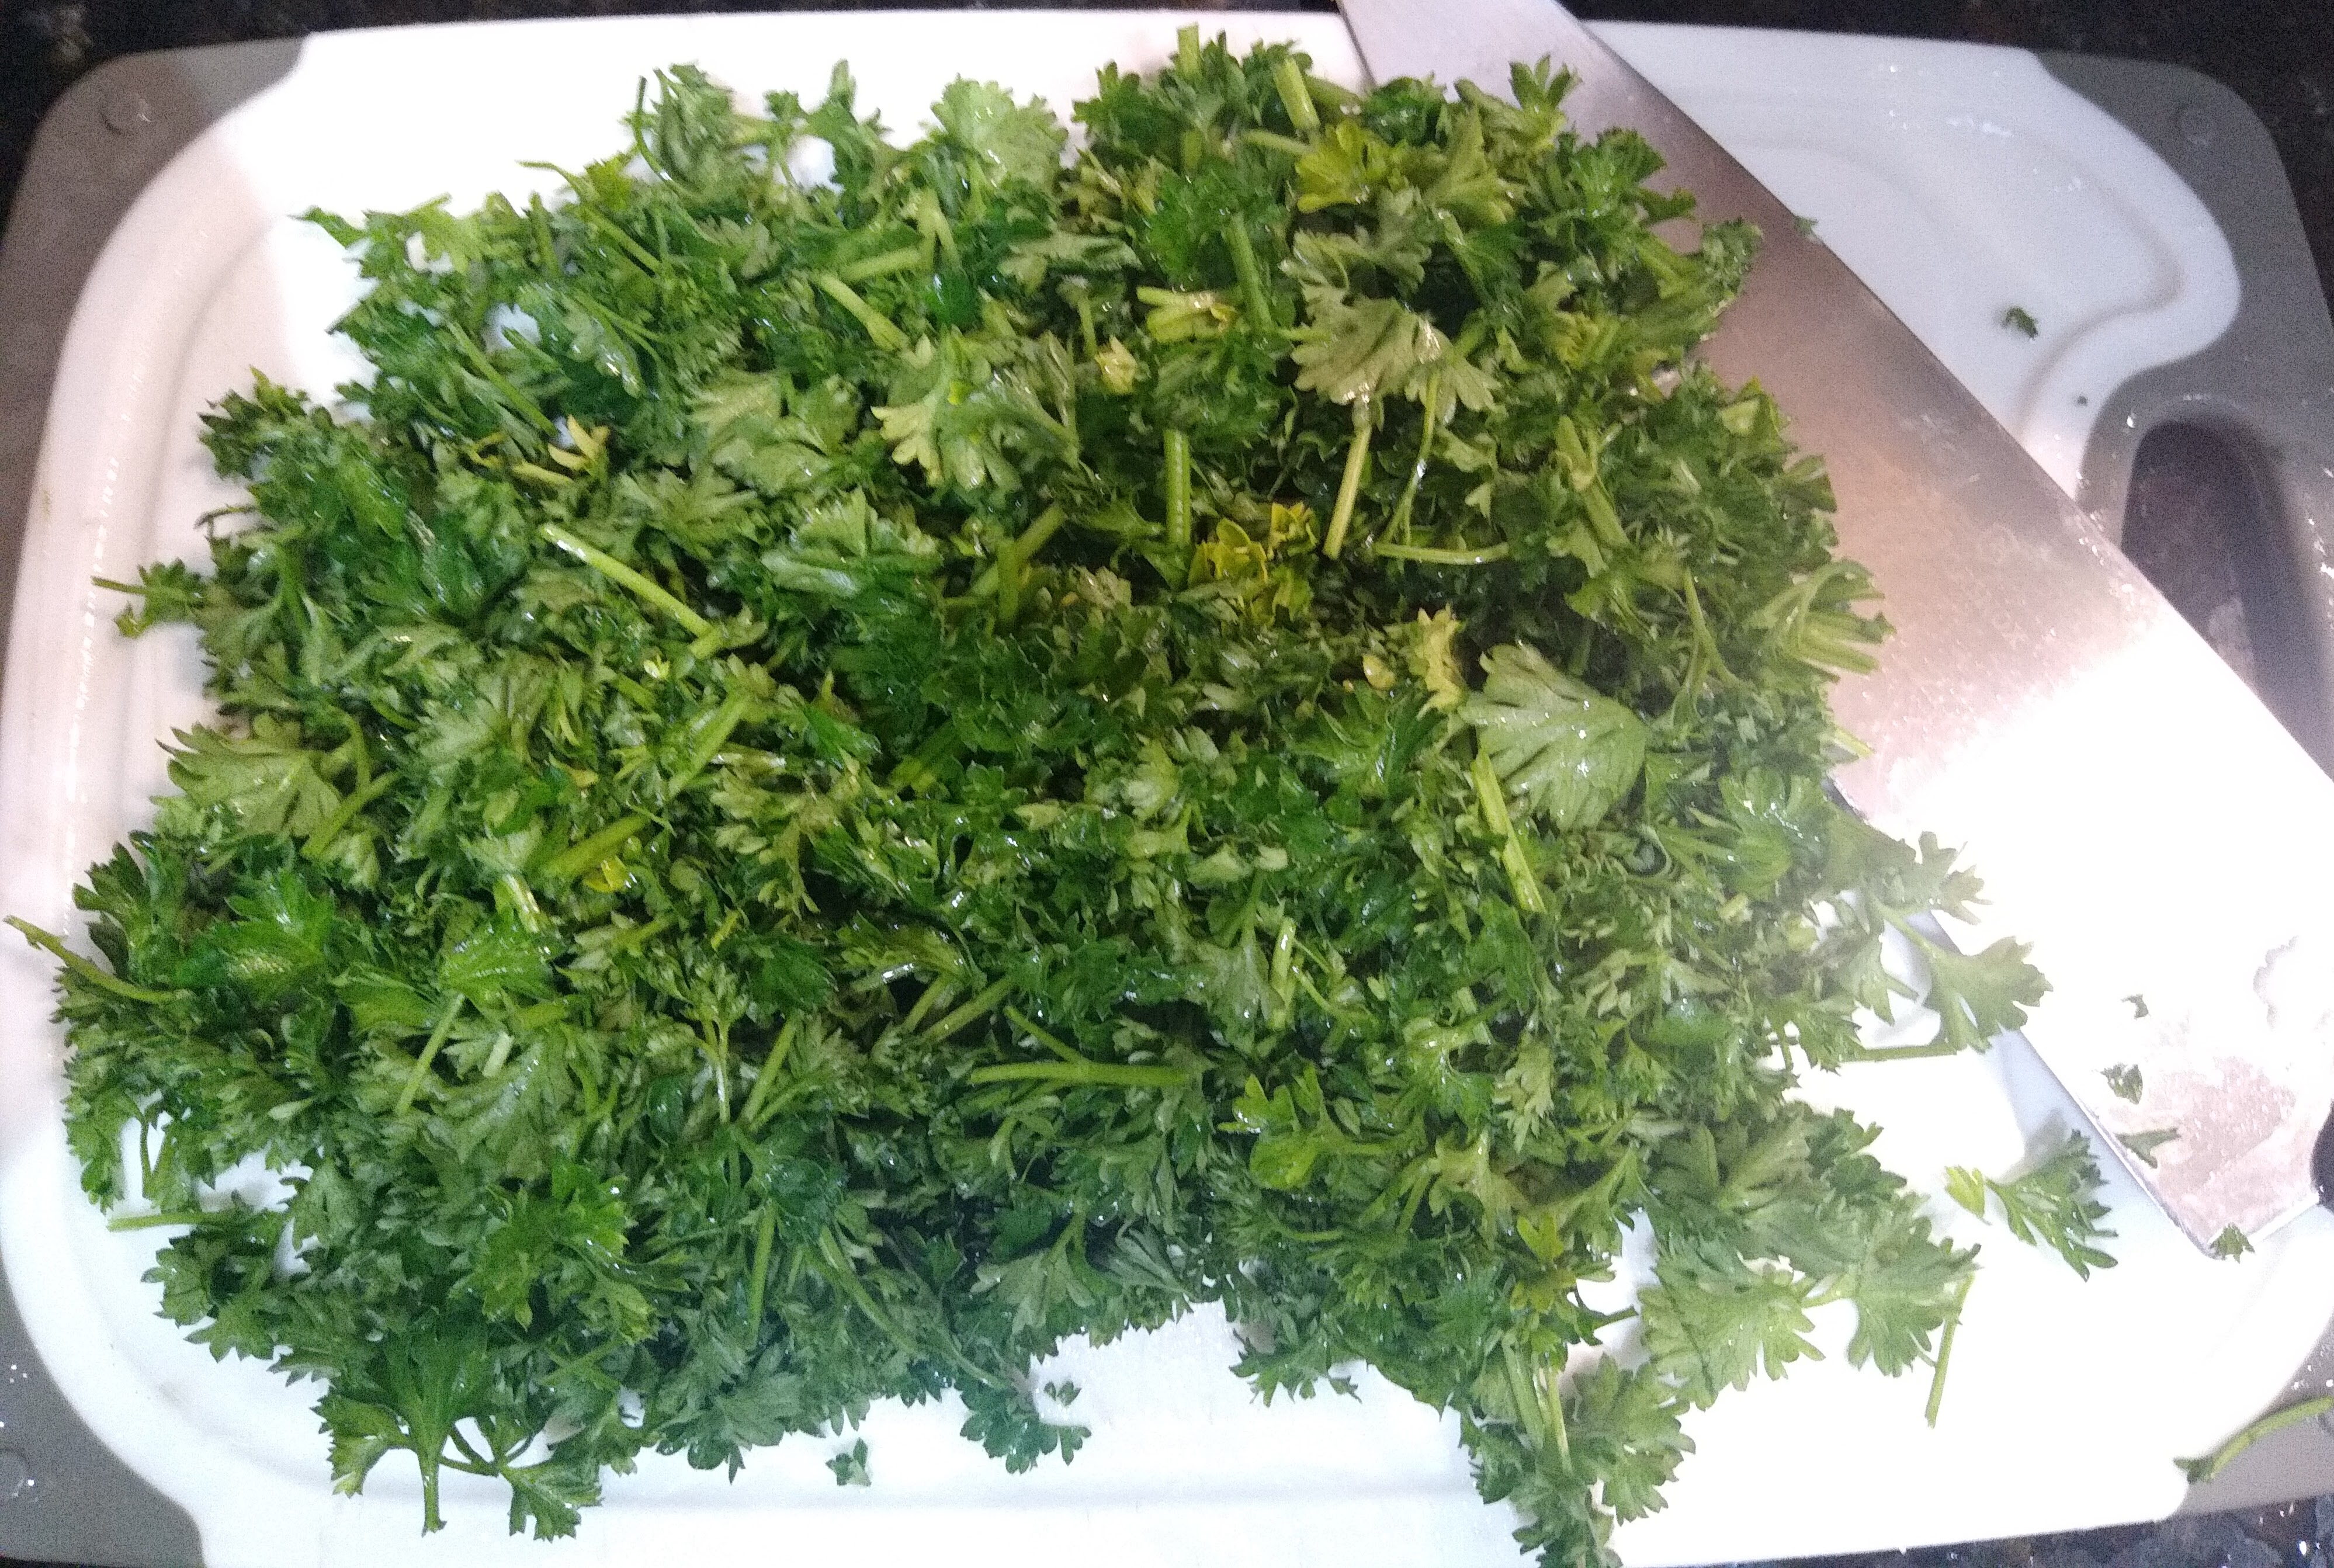
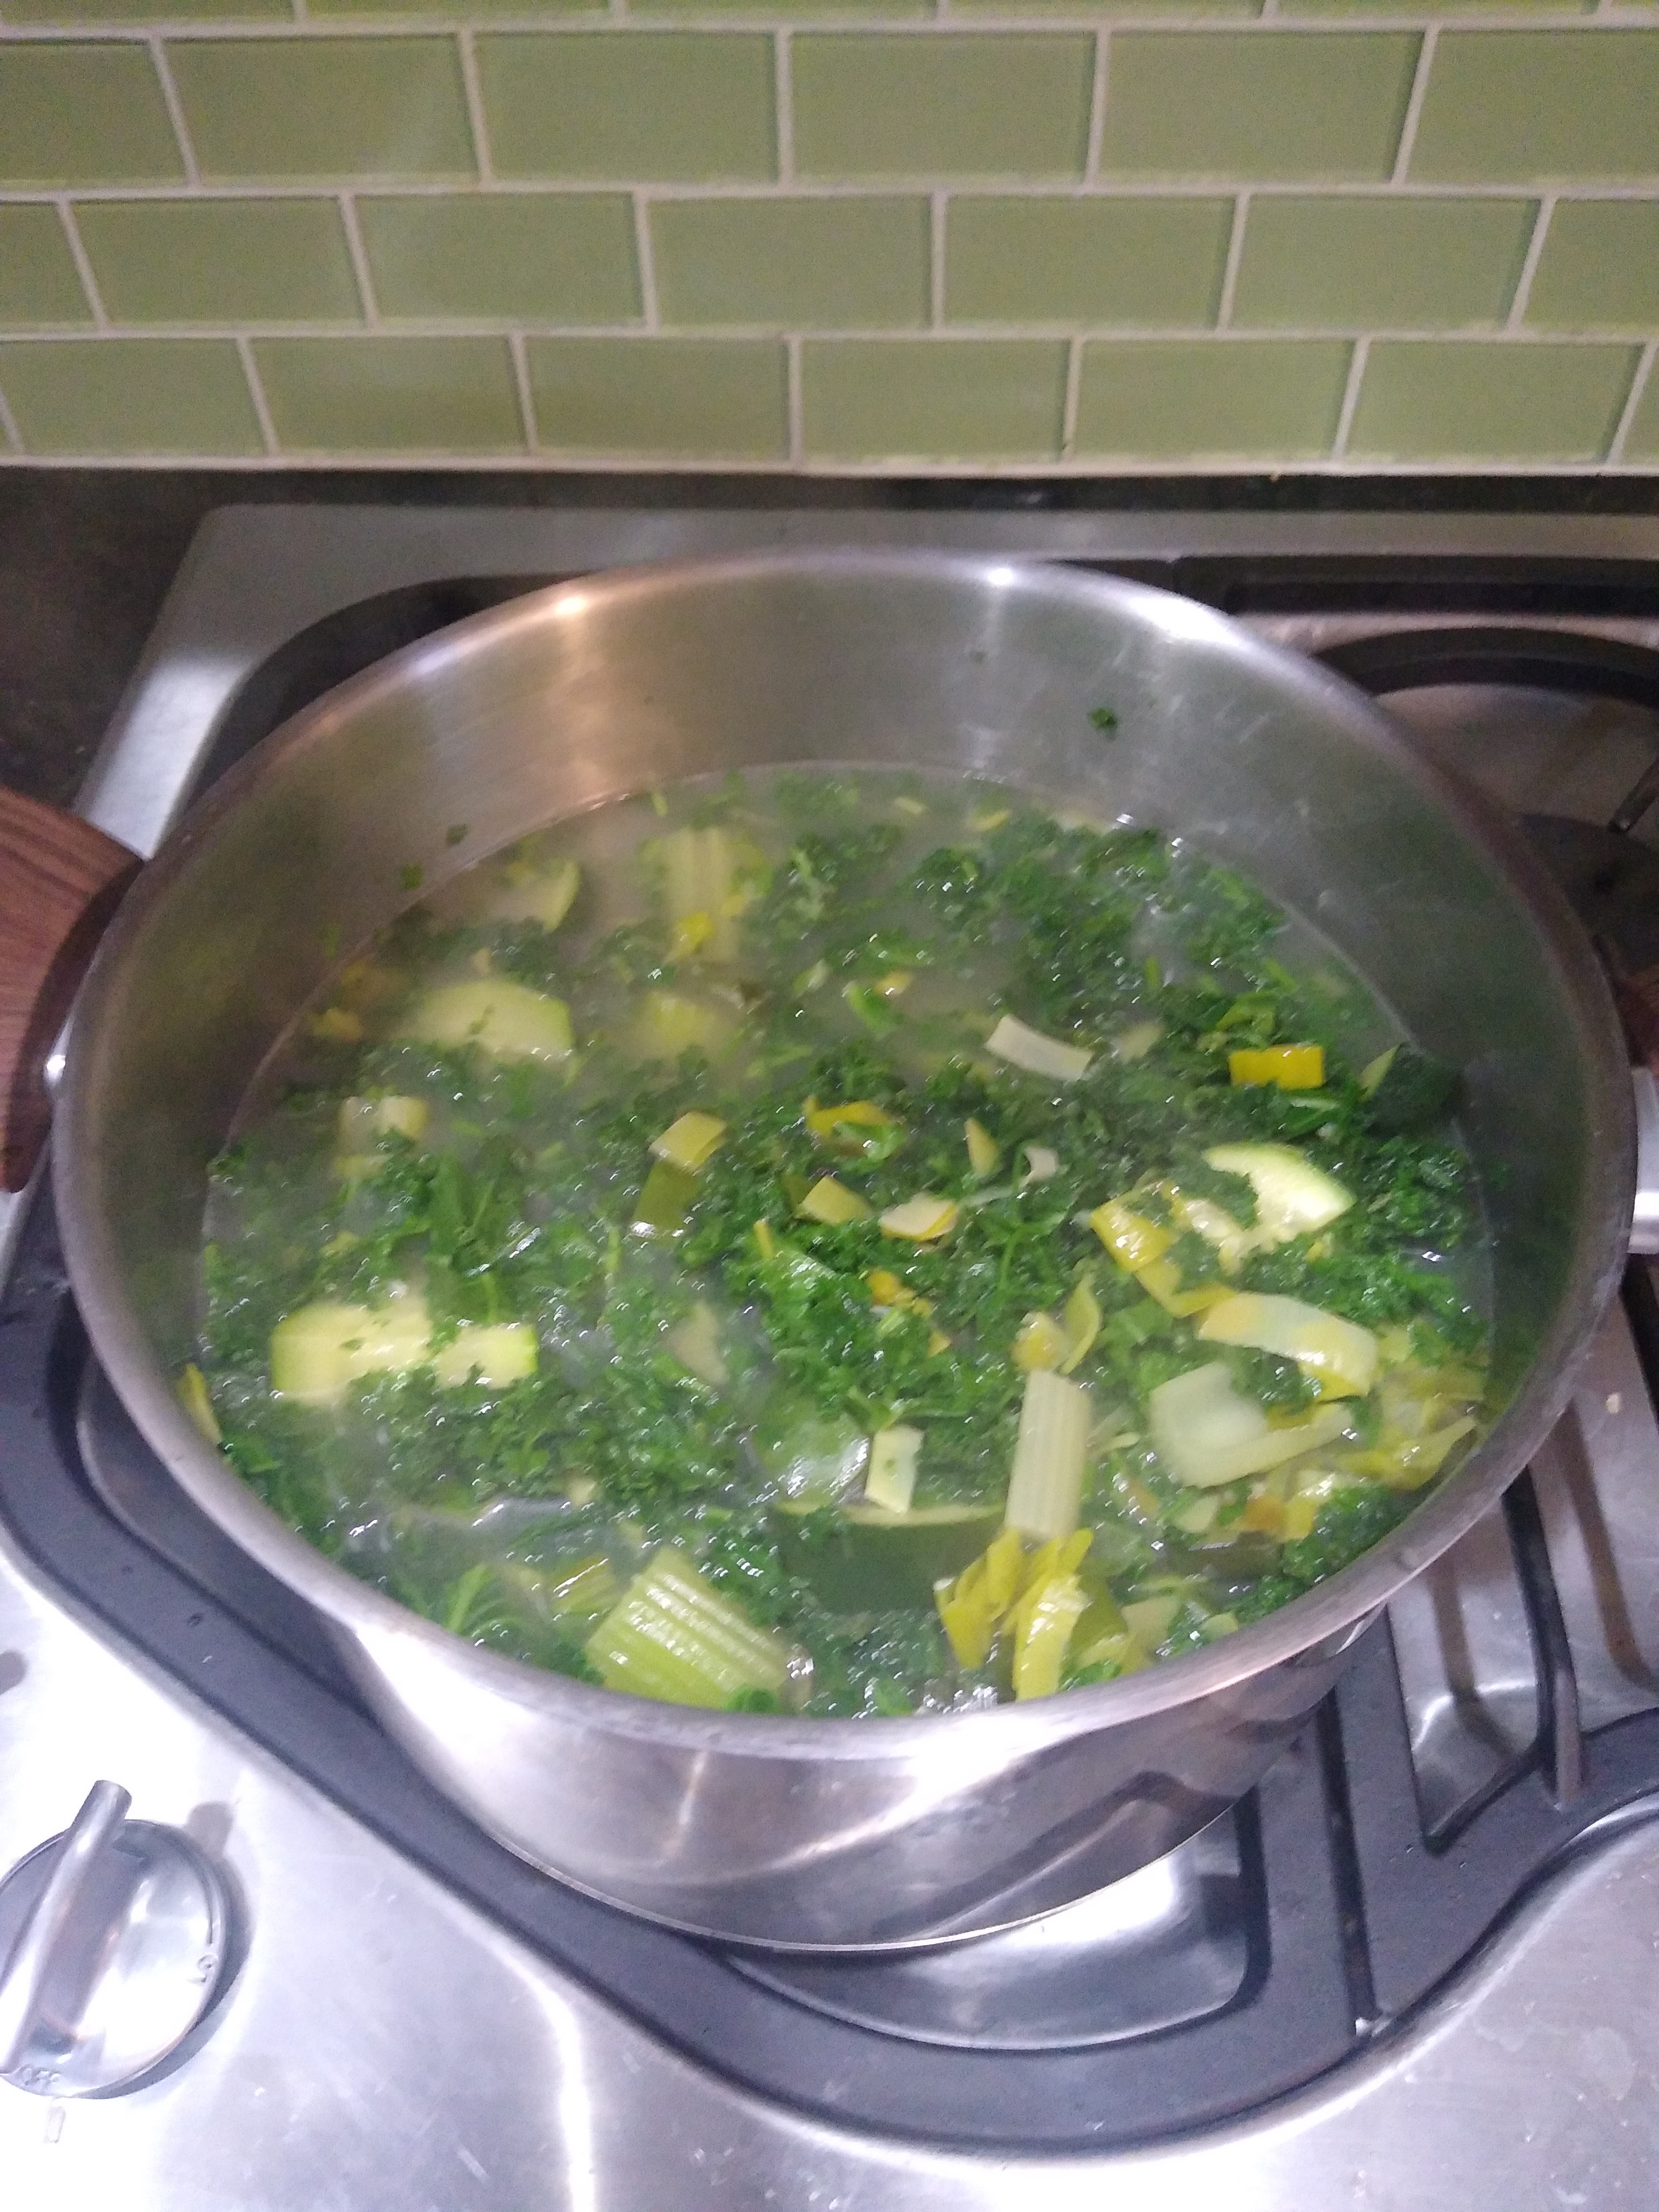
Nourishing Green Soup

  • Servings: 2
  • Difficulty: easy
  • Print

Ingredients

  • 2 Tbsp. Butter (or alternative fat/oil)
  • Half a Leek, including the green part
  • 3 Cloves Garlic
  • 1 Zucchini
  • 1 stalk of Celery
  • Greens from 2 Kale leaves
  • Large handful of Parsley
  • 2-3 cups chicken bone broth (or chicken or veggie broth)
  • 1/2 Lemon
  • Salt and Pepper to taste

Coarsely chop all of the ingredients (chop kale and parsley more finely). Melt butter in a medium stock pan. Sauté the leek until it is beginning to brown slightly, add the garlic and continue sautéing. Add the bone broth, celery, and zucchini and cook until tender. Add the kale and parsley and cook for a few minutes until tender but still bright green. Use an immersion blender to blend soup until mostly smooth. You may end up with little bits of greens that do not blend all the way. That is ok as long as the larger pieces are smooth. Squeeze half a lemon and season to taste with salt and pepper. Serve hot and enjoy!

Please let me know if you try this recipe! What do you think?

Advertisement

Hawaiian Yellowfin Poke

Oooooh man… If you ever get your hands on some really good fresh tuna, don’t be afraid – eat it raw! Sushi, Sashimi, Poke – three delicious ways to eat raw fish. Dan and I made our own awesome version of Hawaiian Poke – super easy and no cooking (wink wink) involved.

If you get fresh tuna and absolutely have to cook it, please try to keep it on the rare/medium rare side of done. Overcooked tuna is a sad thing.

Capture

However, if you think you’re up for it – go the raw route!  Poke can be served with rice, salad, cucumbers, sprouts, or anything else you come up with. We ate ours with additional dipping sauces (soy sauce, vinegar, sesame oil/hot sauce), pickled ginger, bean sprouts, and wasabi paste. (We, of course, used Black Market Hot Sauce for this recipe – Chili Garlic Lime to be precise.)

There are so many different recipes for poke – look at a few and come up with your own combination!

Capture1

This recipe would be a S if you follow the Trim Healthy Mama plan.

Hawaiian Yellowfin Poke

  • Servings: 2-4
  • Difficulty: easy
  • Print
Ingredients

  • 1 lb sashimi grade tuna
  • 2-4 green onions – thinly sliced
  • 1/3 bunch cilantro – chopped
  • 1/8-1/4 c toasted sesame oil (sesame oil can be over powering so start with the smaller amount and ad more if desired)
  • 1/4 c dark soy sauce
  • 1/4 c apple cider vinegar
  • 1 T grated fresh ginger
  • 2-3 T hot sauce
  • 2 T sesame seeds

Instructions

  1. With a sharp knife, dice tuna into 1/4 inch cubes.
  2. In a medium bowl, whisk together sesame oil, soy sauce, vinegar, ginger, and hot sauce. Taste and adjust flavors to your preference.
  3. Add tuna and remaining ingredients to marinade.
  4. Cover and let marinade in refrigerator until ready to serve. (Can also be eaten immediately.)

Enjoy!


Taste the World – South Korea

So uh….we jumped ahead in our journey. Because, well, Dan was craving Korean short ribs. I’m pretty sure Korean short ribs are at the top of Dan’s “Favorite Meals” list so I was more than willing to skip half the alphabet in order to make him happy.Capture2
Along with the ribs we also made spicy Korean kidney beans aaaand kimchi!! Oh. My. Word. I think I’m in love. Fresh kimchi is possibly the best thing ever. I’ll definitely be making it again, and soon.
All of the dishes were pretty easy to make, albeit somewhat time-consuming. Although the recipe looks complicated, the kimchi was much easier than I expected. We followed this video and recipe from Maangchi – a talented Korean chef who was very enjoyable to watch. I can’t wait to see what other videos she’s put together!
Capture3
Once again, our photography skills are lacking nonexistent. Hang in there! Some day we’ll figure this out.
Speaking of pictures, you may notice a hot dog in one of them. Dan and I will put anything and everything on a hot dog, and if it’s spicy or pickled – so much the better.  Naturally, we had to make a kimchi dog. Totally worth how stuffed we were after eating so much food. I’ll write a post in the near future focusing on hot dogs and all of the crazy and delicious combinations we’ve discovered!
I’m not entirely sure how authentic the spicy kidney beans are to traditional Korean cuisine. Regardless – they were a tasty, easy side dish.
There are so many Korean dishes that we still want to try – we’ll most likely post at least once more about South Korea. We’ll also do a post about North Korean cuisine. Although the dishes and flavors are very similar between the two countries, I’ve read that North Korean dishes are generally less spicy and often utilize seafood, broths, and noodles. Capture4
For those of you in the know – what is the one Korean dish we HAVE to try?
 

Korean Short Ribs

  • Servings: 6-8
  • Difficulty: intermediate
  • Print
Ingredients
  • 5 lbs Korean style beef short ribs
  • 1 c brown sugar, packed (alternative sweetener and 1 T molasses can also be used)
  • 1 c soy sauce or Braggs Aminos
  • 1/2 c water
  • 1/4 c rice vinegar
  • 1 medium onion – finely diced
  • 1/4 c fresh minced garlic
  • 1-2 T minced fresh ginger
  • 2 T toasted Sesame oil
  • 1/4 tsp pepper
  • 2-3 sprigs Thai basil – minced
  • 6 Serrano peppers – minced, optional
  • 3-4 green onions – thinly sliced, for garnish

Instructions

  1. Combine all marinade ingredients in a medium bowl and stir to combine. Let it sit until sugar is dissolved.
  2. Add short ribs and marinade to a large zip lock bag (remove most of the air before sealing).
  3. Turn bag over a few times to coat ribs evenly with marinade.
  4. Refrigerate for at least 4 hours or overnight.
  5. When you are ready to cook the ribs, preheat a grill or a cast iron pan to high heat.
  6. Drain off excess marinade.
  7. Cook ribs 3-4 minutes on each side, turning once.
  8. Garnish with sliced green onions.

Enjoy!

Notes:

  1. When looking for short ribs – try to buy the thinnest, widest, and leanest ribs available. (The ribs will still have some fat, which is good, but many of the ribs for sale have excessive amounts.)
  2. Serrano peppers are optional, the longer the ribs marinade – the spicier they will be.


For our beans we used a Soyaki marinade I found at Trader Joe’s. This replaced the sugar, soy sauce, water, and some of the ginger and garlic.

Spicy Korean Kidney Beans

  • Servings: 3-4
  • Difficulty: easy
  • Print
Ingredients

  • 1 standard size can red kidney beans – drained and rinsed
  • 1-2 T ketchup
  • 3 T brown sugar (alternative sweetener and a dollop of molasses could also be used)
  • 3 T soy sauce or Braggs Aminos
  • 1/3 cup water
  • 1-2 T garlic – minced
  • 1 T fresh ginger – minced
  • 1-2 green onions – thinly sliced, for garnish

Instructions

  1. Combine all ingredients in a medium sauce pan.
  2. Bring to a slow boil over medium heat.
  3. Cook until sauce has reduced slightly.

Serve as a side dish or over rice. Garnish with green onions.

Don’t forget to check out Maangchi’s recipe for Kimchi which can be found here: http://www.maangchi.com/recipe/tongbaechu-kimchi


Shirataki Noodle Stir Fry with Over Easy Egg

Dinner last night was easy, fast, cheap and delicious. My favorite kind of meal! This dish is extremely versatile and only requires one key ingredient – Shirataki noodles! Never heard of them? Me either, until I started following the Trim Healthy Mama Plan a few years ago.

Shirataki noodles are pretty much miracle noodles!

  • Gluten free
  • Dairy free
  • Grain free
  • Zero carbs
  • Zero fat
  • Zero everything

Sounds to good to be true. Shirataki noodles (also known as Konjac/Yam/Glucomannan noodles) are traditional Japanese noodles made primarily from glucumannan, which is a water soluble fiber. Water soluble fiber =  I know what you’re thinking – zero everything means zero flavor too, right? That is true, but it also means they will take on any flavor you choose to give them!

I see a lot of recipes that recommend using Shirataki noodles in Italian style dishes. I prefer to use them primarily in Asian style dishes, since that’s where they originated. So, dinner last night was an Asian noodle stir fry with an over-easy egg on top! I didn’t have any meat in the fridge and I had very few vegetables – so I improvised! Zucchini, onion, dried seaweed, Shirataki noodles, a few sauces, and an egg. Together – a very cheap and satisfying meal.

The key to enjoying these noodles depends on how you cook them.

  1. Rinse
  2. Boil
  3. Dry roast

These three steps are important. When you open a package of Shirataki noodles, they have a strong fishy smell. This smell will disappear in the rinsing/boiling process.

Nearly any kind of meat or vegetable can be added to this dish. Be creative! Just cut everything small and consider cooking the meat separately and adding it at the end. I think a fried egg is a nice addition (and it was my only protein), but you can choose to use a different protein source instead.

As written – this recipe is an S if you are following the THM plan.

*Shameless advertisement warning* I used my boyfriend’s Chili Garlic Lime Hot Sauce for this recipe!

Here’s my recipe for Asian noodle stir fry – Enjoy!konjacnoodleswithfriedegg

Shirataki Noodle Stir Fry with Over Easy Egg

  • Servings: 2
  • Difficulty: easy
  • Print
Ingredients

  • 1(70z) package Shirataki Noodles
  • 1 medium zucchini – diced small
  • 1/2 onion – diced
  • 1 tsp fresh ginger – minced
  • Braggs Aminos or soy sauce
  • butter or coconut oil for frying
  • toasted sesame oil
  • Asian style hot sauce
  • 2 eggs
  • salt and pepper to taste
  • (optional) 1 Tbsp dried seaweed – soaked

Instructions

  1. Bring a medium pot of water to a boil.
  2. Rinse Shirataki noodles in a colander under cold water for at least 1 full minute.
  3. Add noodles to boiling water and cook for 3-4 minutes.
  4. While noodles are boiling, preheat a nonstick frying pan over medium high heat (do not add any oil or fat).
  5. Drain noodles well and add to frying pan. Dry roast for several minutes  until noodles are visibly dry and “squeak” when  stirred.
  6. Move noodles aside so there is space in the middle of the pan. Add a few tablespoons of butter or coconut oil to the center of the pan.
  7. Add diced onions and ginger and saute for a few minutes, until the color starts to change.
  8. Add a few more teaspoons of oil if needed and add the diced zucchini. Continue to saute and then stir to combine all ingredients.
  9. Add several splashes of Braggs Aminos and hot sauce and stir to combine. Taste and adjust seasoning if needed.
  10. Drain seaweed and add to pan. Stir to combine and remove pan from heat.

To fry an over easy egg:

  1. Preheat a small frying pan over medium heat.
  2. Add a small amount of butter or coconut oil and melt.
  3. Crack an egg gently into the pan and cook until the egg whites are opaque and the egg moves freely in the pan.
  4. Carefully flip the egg over and remove from the heat.

Serve stir fry with a drizzle of sesame oil and a few extra drops of hot sauce. Top with the fried egg. Enjoy!


Bragging Rights & Chicken Curry Salad

I need to brag a little bit.

Recently I made all of the judge food for our Regional speech and debate tournament (about 120 people, 3 meals a day, 4 days). I had some excellent helpers! (See picture.) I couldn’t have done it without them.

Now the part that I’m bragging about is this… One day for lunch I made four salads. Southwest Quinoa, Chicken Penne Thyme, Greek Orzo and Chicken Curry. Everyone LOVED them! Everyone. I’ve received e-mails saying how great the salads were! (Everyone except some guy who wanted some meat. Beef to be exact. Chicken wasn’t cutting it!)

I love it when I can make people so happy that they won’t stop talking about it.

I thought I would share one of the salad recipes with you!

Chicken Curry Salad

  • Servings: 4-6
  • Difficulty: easy
  • Print
Ingredients

Dressing:

  • 1 cup mayonnaise
  • 2 T lemon juice
  • 1 1/2 tsp curry powder
  • 1 tsp finely ground sea salt
  • 1/4 tsp ground black pepper

Salad:

  • 4 cups diced chicken
  • 1 granny smith apple – diced small
  • 2 cups celery – chopped
  • 1/4 – 1/2 cup red onion – finely diced
  • 1/2 cup raisins
  • Optional – sliced grapes or chopped walnuts


Instructions

  1. Combine dressing ingredients in a medium bowl. Taste, taste, taste and adjust seasonings as needed. (It should be bold in flavor and taste slightly stronger than you want the salad to taste.)
  2. Add salad ingredients and combine well.
  3. Taste again and adjust seasonings if needed.
  4. Chill until ready to serve.

Serve as a sandwich or wrap filling or an it’s own. Enjoy!


Creamy Italian Chicken on Rice

I love this dish! It’s simple to make and will easily feed a lot of people. This meal is almost as good as Mac n’ Cheese in the comfort-food-department. Although I’ve made this dish dozens of times – I apparently never took a picture of it.

Creamy Italian Chicken on Rice

  • Servings: 6-8
  • Difficulty: easy
  • Print
Ingredients

  • 3-4 c dry rice
  • 6-8 c water
  • boneless, skinless chicken pieces – 8-10oz per person
  • 1 medium onion – diced
  • 1 tsp dried oregano
  • 2 tsp dried basil
  • 3-4 tsp granulated garlic
  • 1-2 tsp paprika
  • 2-3 tsp salt
  • 1-2 tsp pepper
  • 1 – 26oz can Cream of Mushroom soup
  • 16 oz sour cream

Instructions

  1. Begin by cooking the rice. Combine the dry rice and water (1:2 ration) in a medium sauce pan and bring to a boil.
  2. Reduce rice to a simmer and cover. Cook until rive is tender and all of the water has been absorbed. Remove from heat.
  3. While rice is cooking, prepare the chicken.
  4. Preheat the oven to 350.
  5. Cut the chicken into bite size pieces and spread evenly in a greased oven proof pan. (Pan should not be full because you will be adding sauce ingredients.)
  6. Sprinkle chicken evenly with dried seasonings.
  7. Spread the Cream of Mushroom soup evenly to cover the chicken.
  8. Cover with foil to prevent browning and bake at 350 until the chicken is cooked through.
  9. When cooked, remove from the oven and stir in the sour cream to create a smooth creamy sauce.
  10. Taste and adjust seasoning if needed.
  11. Reheat for a few minutes if needed.

Serve over cooked rice with lots of extra sauce! Can be served with steamed veggies or a big green salad.

Notes:

  1. The rice instructions written here are for short grained white rice. Adjust amounts as needed if another kind of rice is used.
  2. The rice and the sauce can help this dish easily stretch to feed more people.
  3. Veggies such as zucchini, red bell peppers, broccoli, etc. can easily be added to the chicken if desired.
  4. This dish can be frozen and then reheated BEFORE the sour cream is added.
  5. This recipe can be gluten free if a gluten free Cream of Mushroom soup is used.

(The best) Piquant Prawn Salad


I love this salad! It’s full of protein, fresh veggies and delicious Asian flavors. This is another recipe from the previously mentioned Thai cook book. I normally leave a few ingredients out but I’ve italicized the adjustments I made so you can see all of the options! (Update: If you are following the Trim Healthy Mama plan, Shirataki noodles would be the perfect replacement for the rice noodles!)

Piquant Prawn Salad

  • Servings: 4-6
  • Difficulty: intermediate
  • Print
Ingredients

  • 7 oz rice vermicelli noddles or Shirataki noodles (follow the first 5 instructions in this recipe if using Shirataki noodles)
  • 8 baby corn cobs – halved
  • 5 oz snow peas
  • 1 T coconut oil (or vegetable oil)
  • 2 garlic cloves – minced
  • 1 inch piece of fresh ginger – peeled and finely chopped
  • 1 fresh red or green chili – seeded and finely chopped
  • 1 lb raw peeled jumbo shrimp
  • 4 green onions – thinly sliced
  • 1 T toasted sesame seeds
  • 1 lemon grass stalk – thinly shredded

For the dressing

  • 1 T fresh chives – chopped
  • 1 T Thai fish sauce
  • 1 tsp soy sauce or Braggs Aminos
  • 3 T peanut oil (or if you love sesame oil as much as I do, use it instead of peanut oil!)
  • 1 tsp sesame oil
  • 2 T rice vinegar

Instructions

  1. Put the rice noodles in a heat proof bowl, cover with boiling water and let sit for 10 minutes.
  2. Drain rice noodles, refresh with cold water, drain again and set aside.
  3. The dressing can be made ahead of time by combining ingredients and either shaking or whisking all of the dressing ingredients together and then setting aside.
  4. Saute, or steam, the snow peas and baby corn and set aside.
  5. Heat the coconut oil in a frying pan (or wok). Add the garlic, ginger and chili and cook for one minute.
  6. Add the shrimp and cook until just pink.
  7. Stir in the green onions, snow peas, baby corn and sesame seeds. Toss lightly to mix.
  8. Add the contents of the pan to the rice noodles.
  9. Pour the dressing on top and toss well.
  10. Sprinkle with lemon grass and chill for one hour before serving.

Enjoy this light flavorful salad!


Super Easy Hot-and-Sour Soup

In the mood for a delicious way to warm up this winter? Try this spicy warming Hot-and-Sour Soup that can easily be made with just a few special ingredients!

The original recipe for this soup calls for prawns – I made it with chicken… I’m sure either would taste wonderful.

I believe this recipe is a fuel pull if you are following the Trim Healthy Mama plan and use lean chicken or shrimp and a reduced fat stock.

Original recipe from “Thai – the essence of Asian cooking” from Hermes House

Easy Hot-and-Sour Soup

  • Servings: 4-6
  • Difficulty: easy
  • Print
Ingredients

  • 1 lb raw chicken (or jumbo prawns)
  • 4 c chicken or fish stock
  • 3 stalks lemon grass
  • 10 kaffir lime leaves – torn in half
  • 8 oz can straw mushrooms – drained
  • 3 T fish sauce
  • 4 T lime juice
  • 2 T green onions – thinly sliced
  • 1 T fresh cilantro leaves
  • 4 fresh red chilies – seeded and thinly sliced
  • salt – to taste
  • ground black pepper – to taste

Instructions

  1. Cut the chicken into bite size pieces (or if using prawns – peel and save the shells, then devein and set the prawns aside).
  2. In a large soup pot bring the stock to a boil (if using prawns, rinse the shells and add to the stock).
  3. Slightly crush the lemon grass stalks and add them to the stock along with half of the lime leaves.
  4. Simmer gently for 5-6 minutes, until the stock is fragrant.
  5. Strain the stock, return it to the clean pot and reheat.
  6. Add the drained mushrooms and the chicken (or prawns), then cook until the chicken is cooked through (or the prawns turn pink).
  7. Add the fish sauce, lime juice, green onion, cilantro, chilies, and remaining lime leaves into the soup. Stir to combine.
  8. Add salt and pepper to taste. The soup should be sour, savory, spicy and hot.

This is a great soup to make ahead of time and keep hot in a crock pot or on the back of the stove until time to serve.

Enjoy!