Taste the World – Albania

Whew! I really struggled trying to write this post. It seems that all of my creativity has disappeared. The food this week was delicious, comforting, and challenging. My co-chef was attractive and entertaining. And yet – my brain is only stringing together boring sentences. For your sake, I’ll try to make this fast.
     Our Taste the World experiment took us to Albania this week. We actually spent several days on this country because we made two meals instead of one. The first meal consisted of Tav Ma Presh (a leek casserole), which we ate with smashed new potatoes and a common Albanian tomato and cucumber salad. The second meal required the majority of an afternoon to prepare because we just had to make Flija – a traditional dish with it’s own celebratory day!
IMG_20160108_174052350
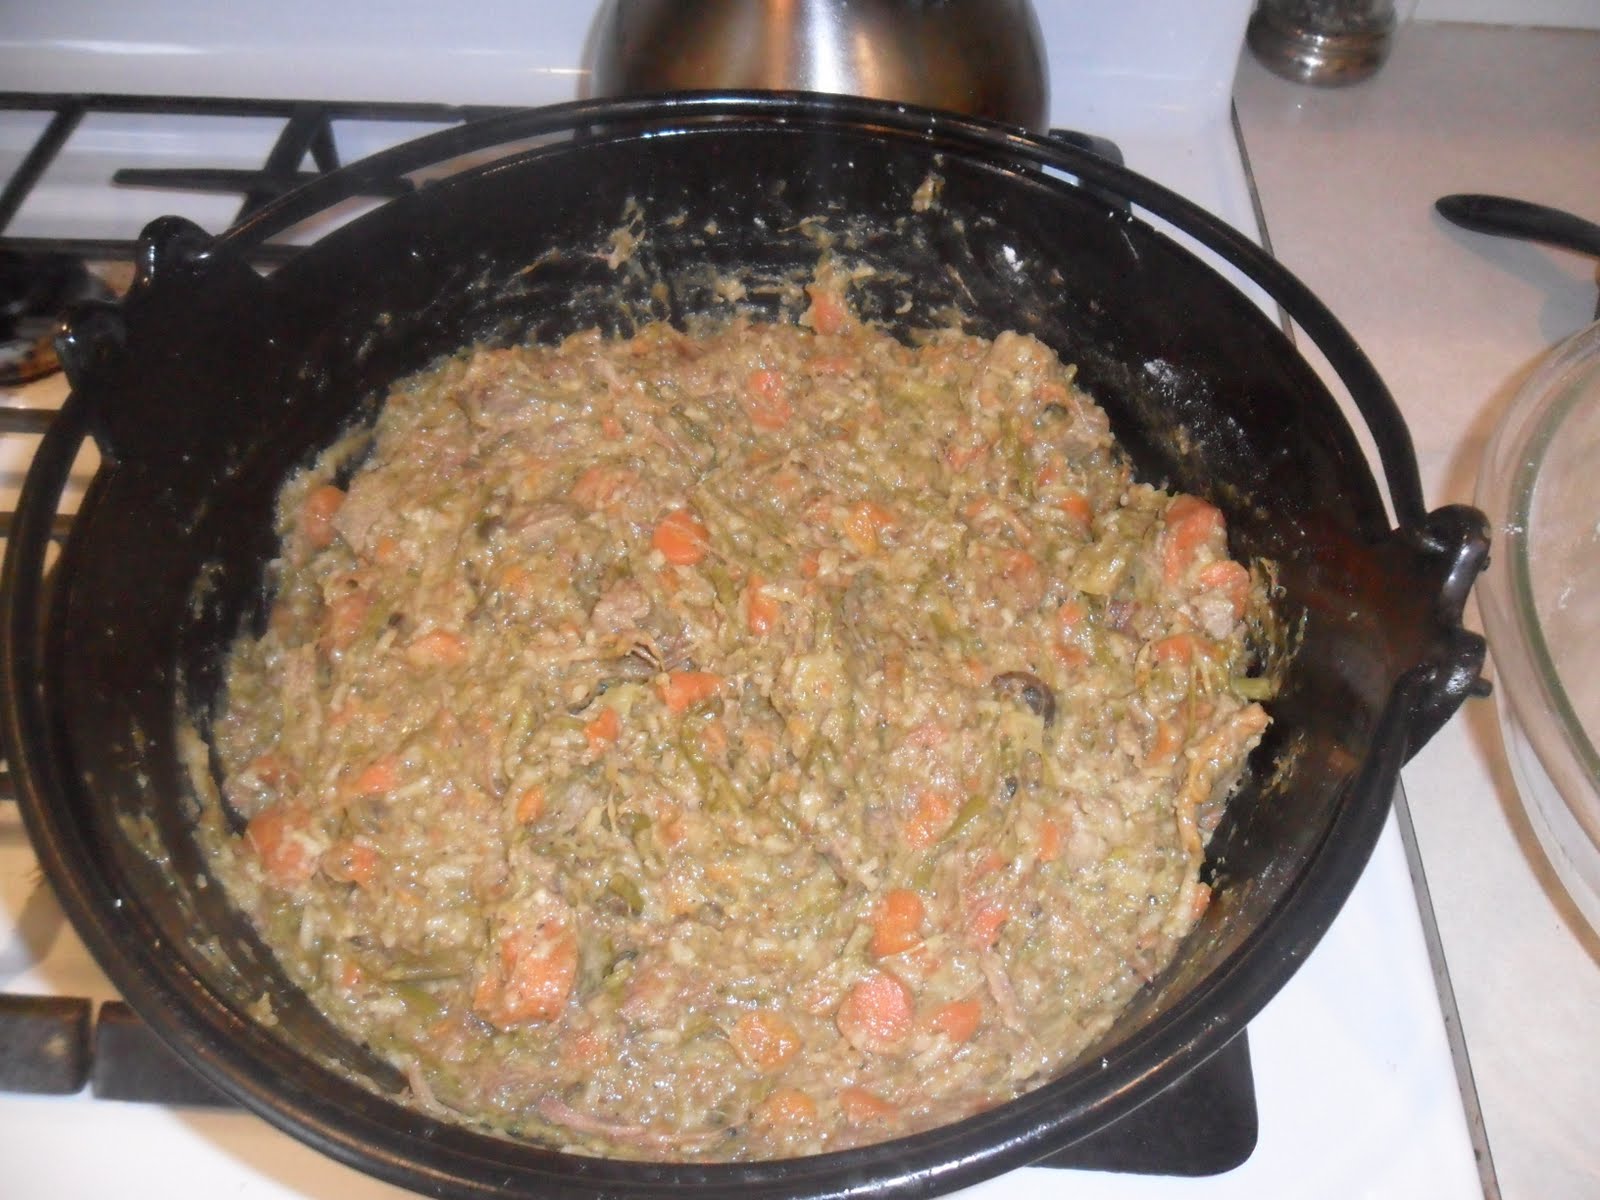
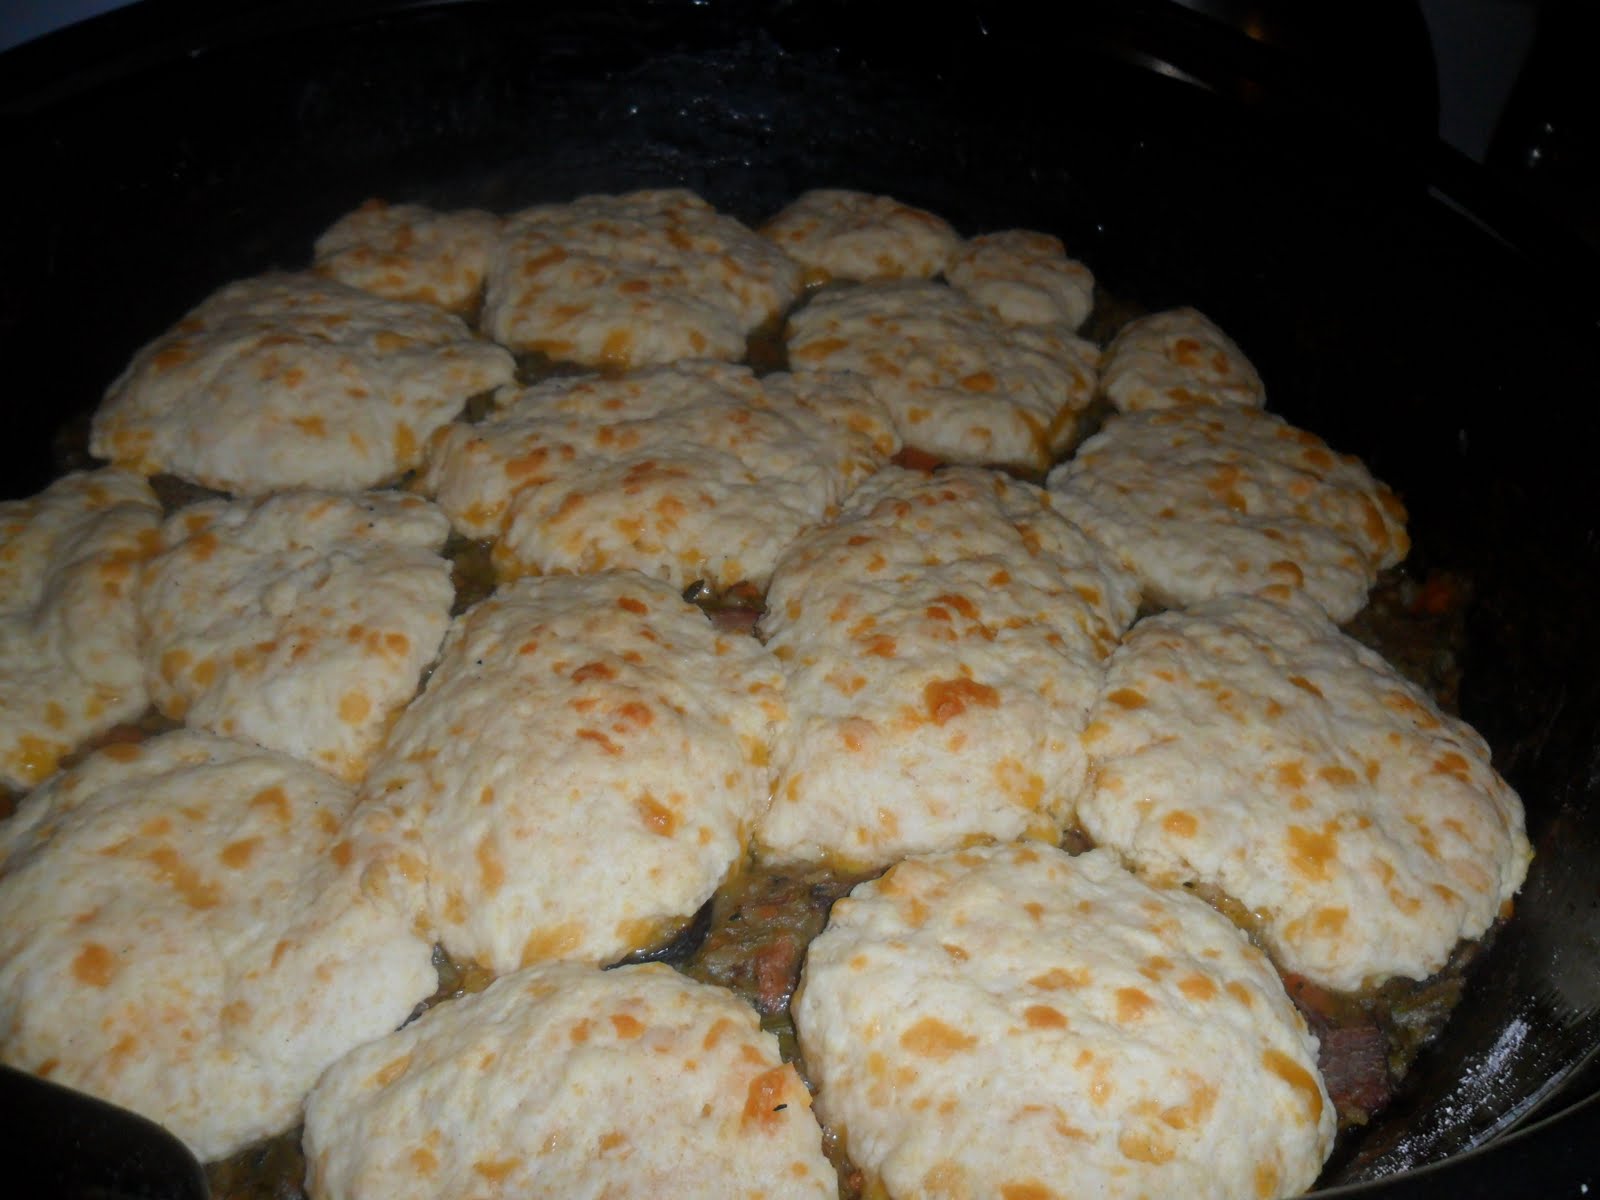
Tav Ma Presh is primarily made of leeks, along with some red peppers and minced lamb, beef, or chicken. It’s a hearty comfort food that reminds me of Shepherds Pie without the mashed potatoes. A lot of the recipes we looked at actually suggested serving it with mashed potatoes or just as a side dish for another meal. We tweaked the traditional recipe to utilize what we had on hand (ground beef and baby potatoes), and we both loved the result! We also wanted a tiny bit of spice so we added a few red jalapeños to our dish. You’ll find our recipe for this and the other dishes below.
IMG_20160108_174244235
The cucumber and tomato salad was pretty basic but the addition of green onions and lemon juice made it a refreshing contrast against the rich and fatty Tav Ma Presh.
clipped1
Our attempt at making Flija was not entirely successful, but it was an interesting challenge nonetheless. March 18th in Albania is Flija Day and families invite their friends and relatives over for the day to prepare and eat Flija! A whole day for one dish? Flija takes at least three hours to prepare.
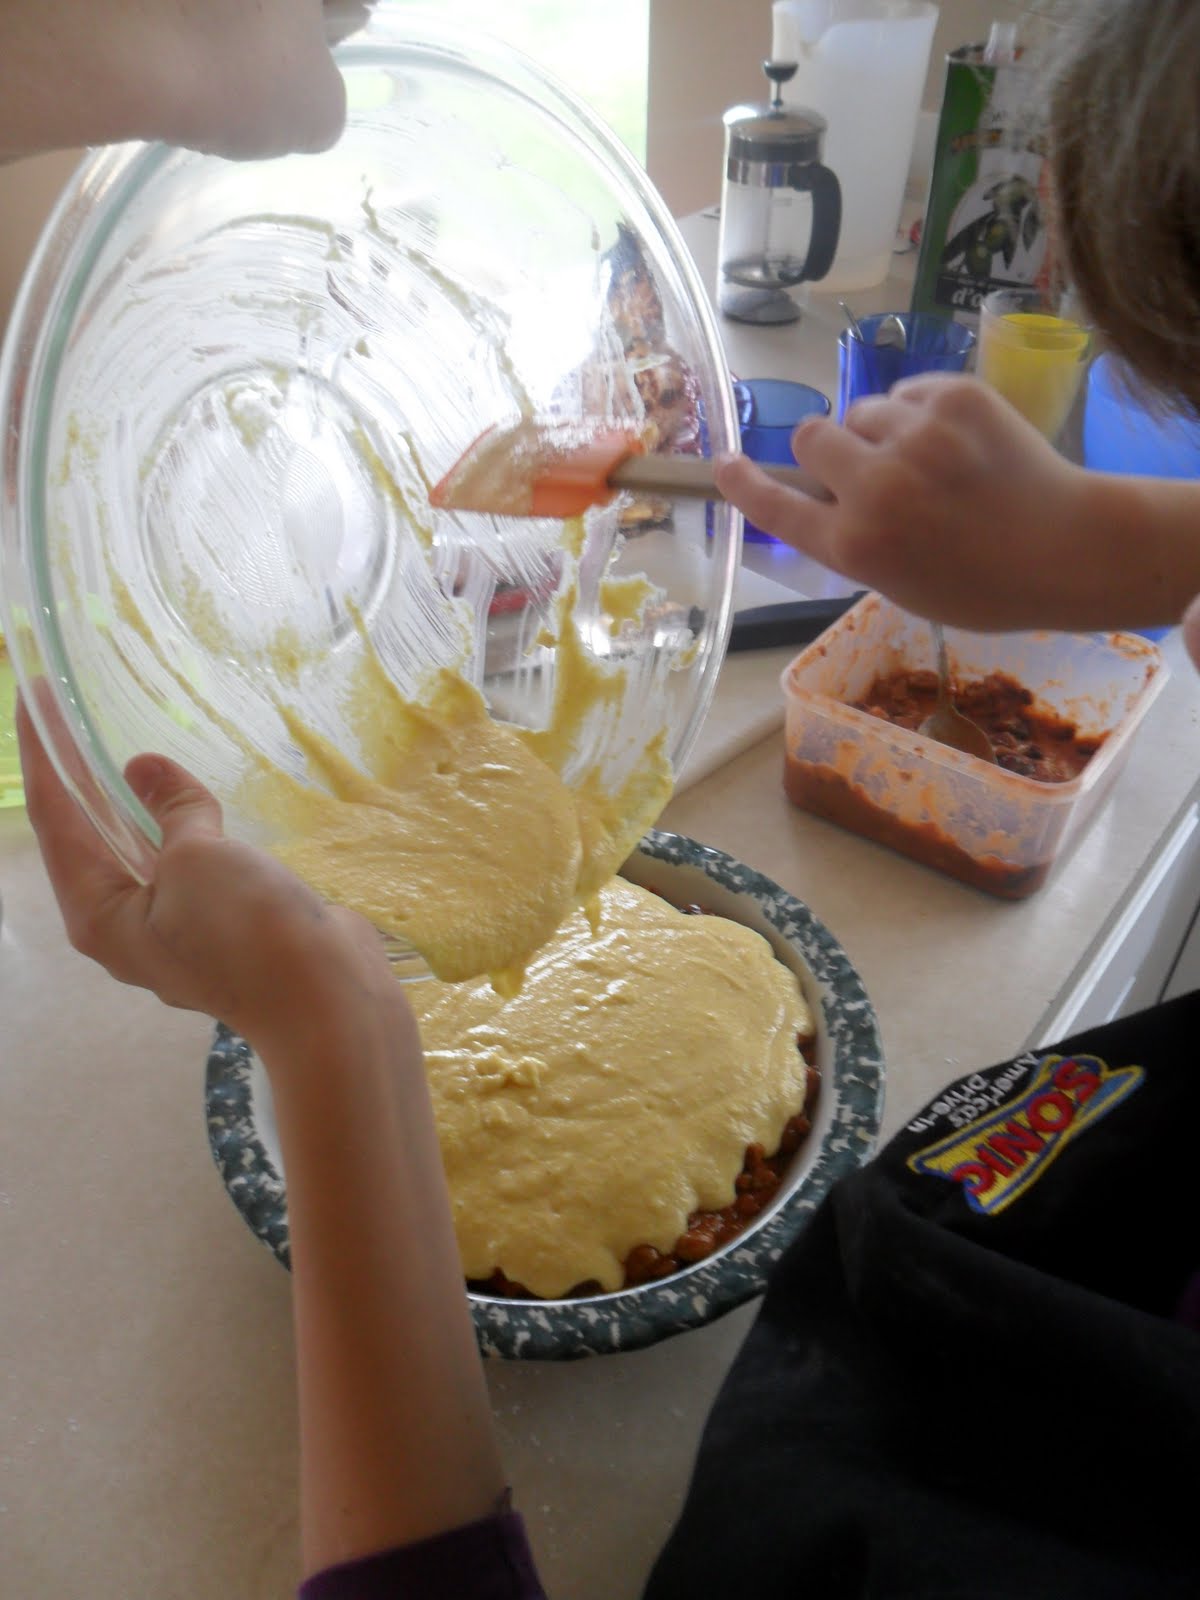
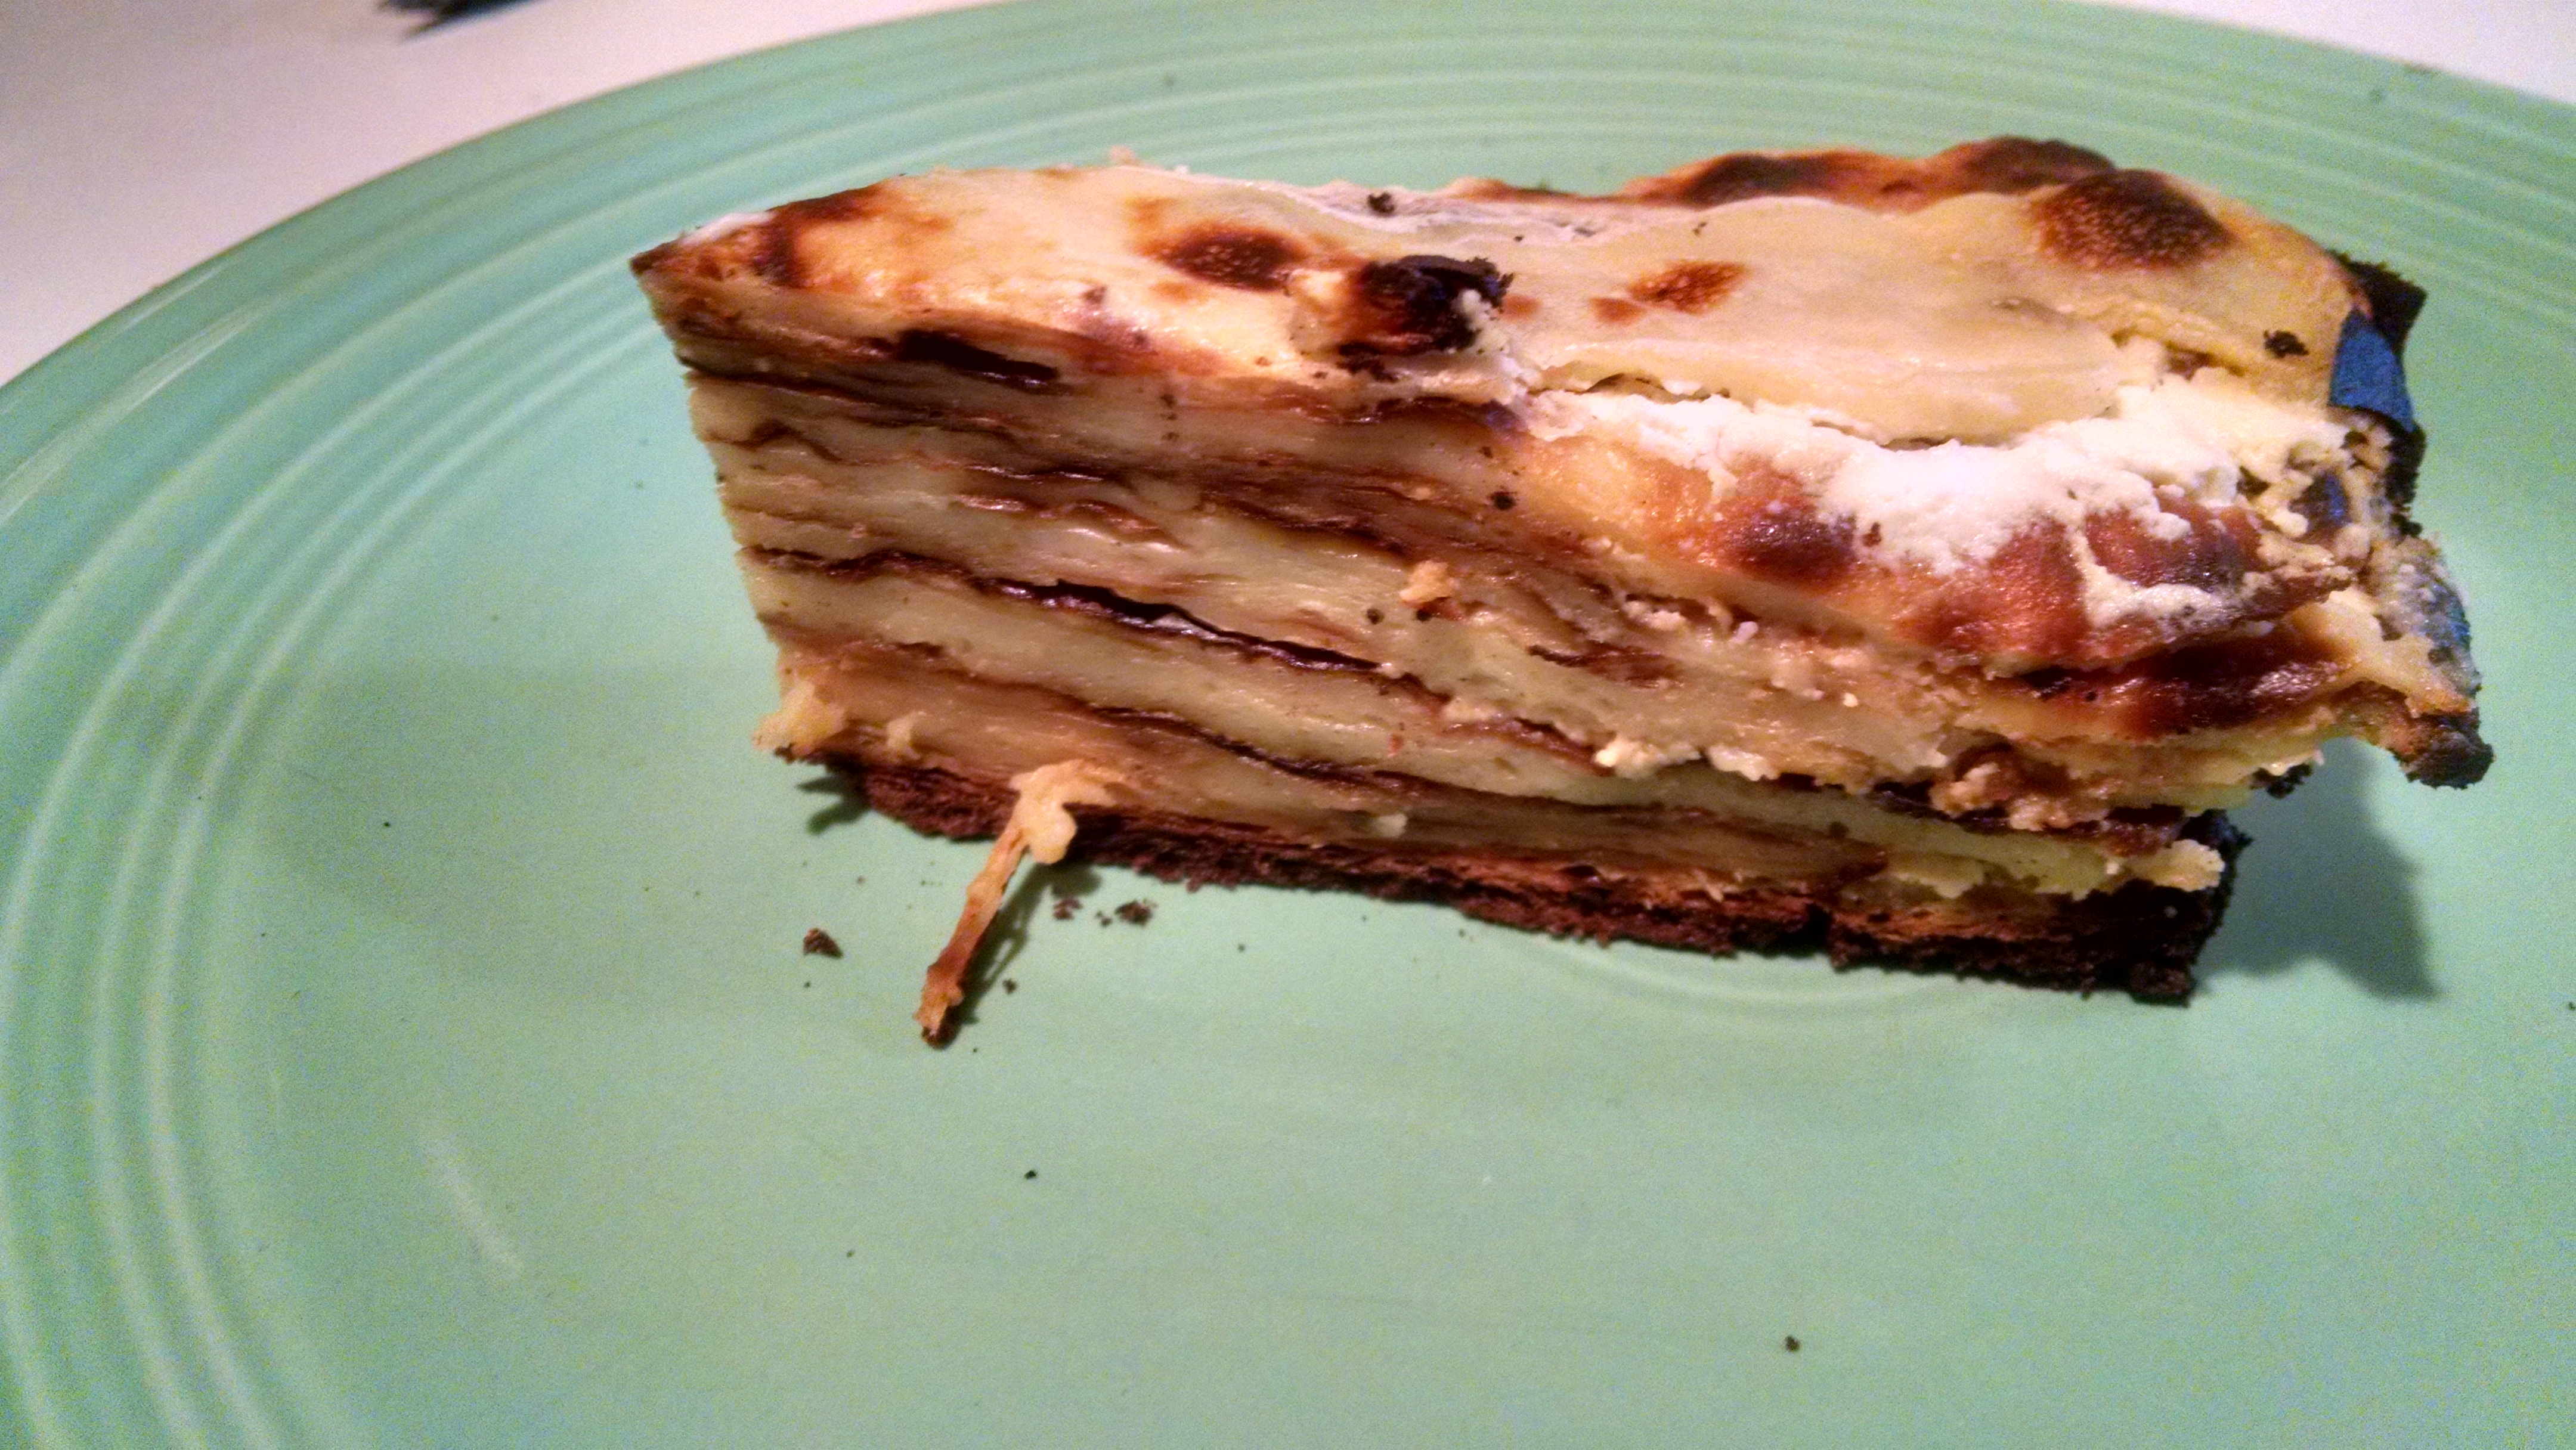
     Flija is a many layered “cake” made with a simple pancake-like batter that is baked in layers and brushed with a thin, creamy, yogurt batter. The finished dish can be eaten with either savory or sweet toppings. Flija is traditionally made outside, near an open fire. A large metal lid called a sac is placed over the fire and hot coals are piled on top to maintain the temperature. The sac is used to bake each layer of the Flija as it sits near the fire. The process is kind of difficult to explain clearly – I recommend watch one of the following videos to see how it is made traditionally.
 
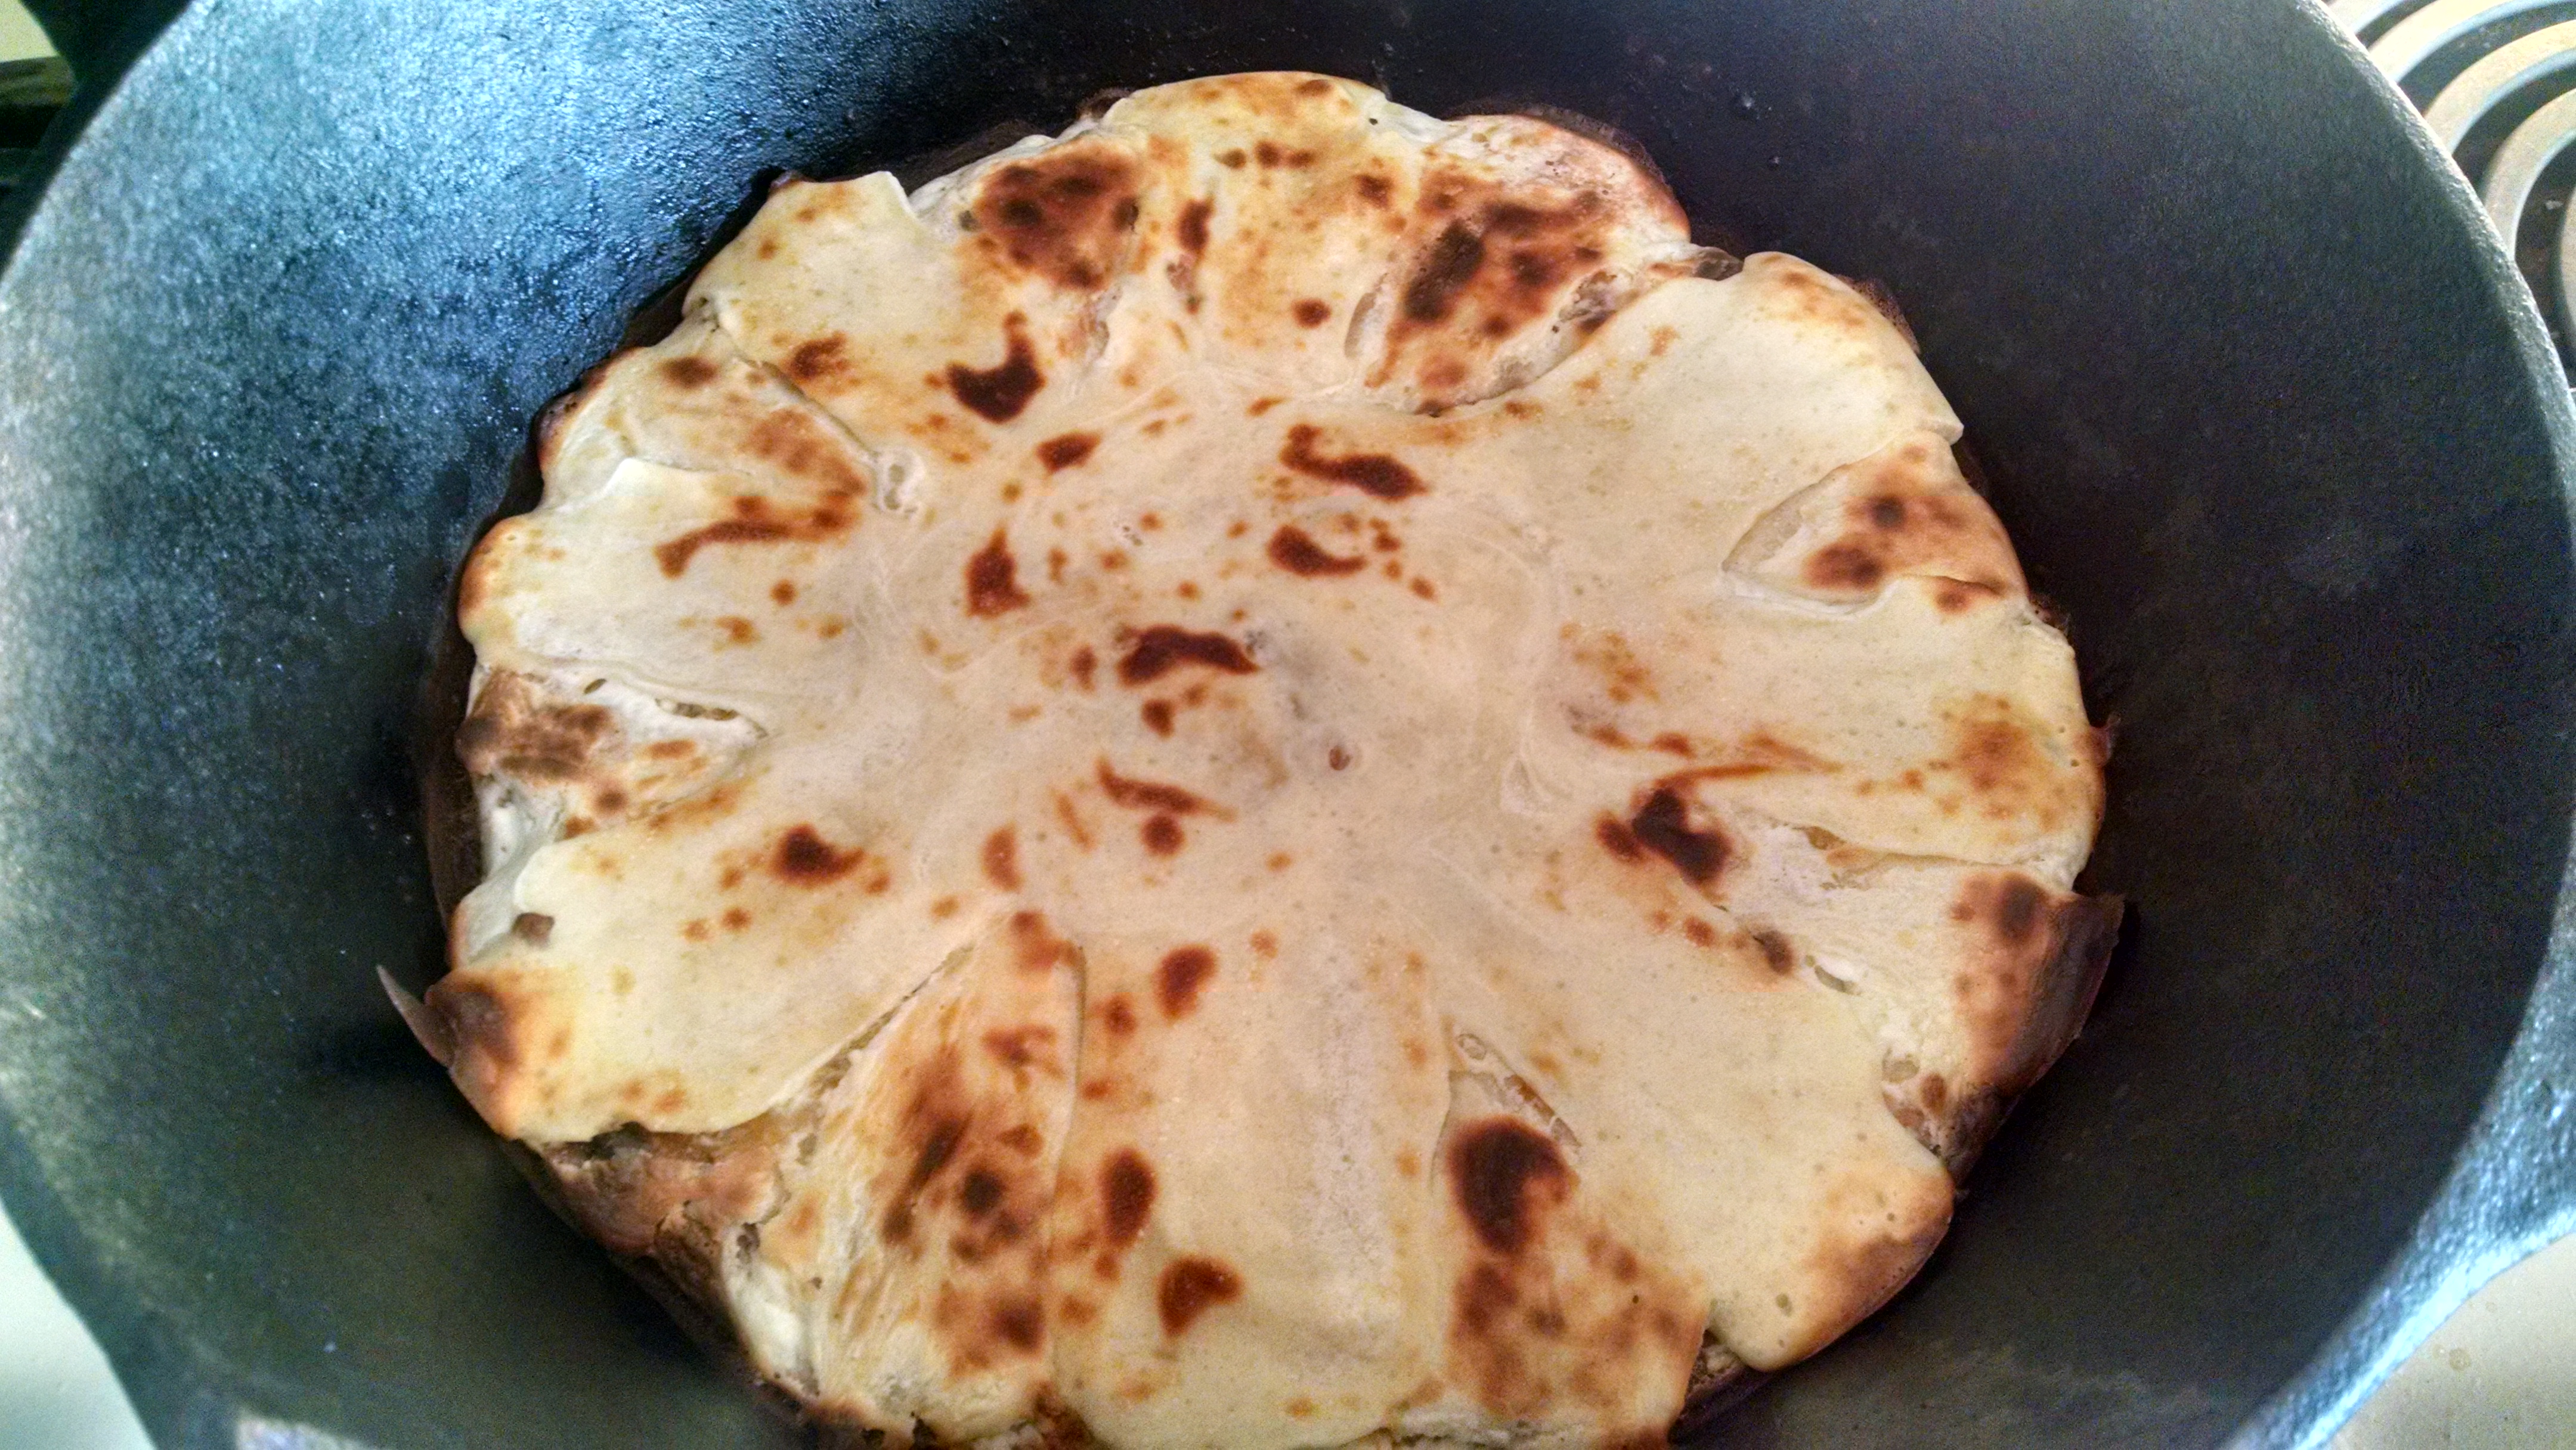
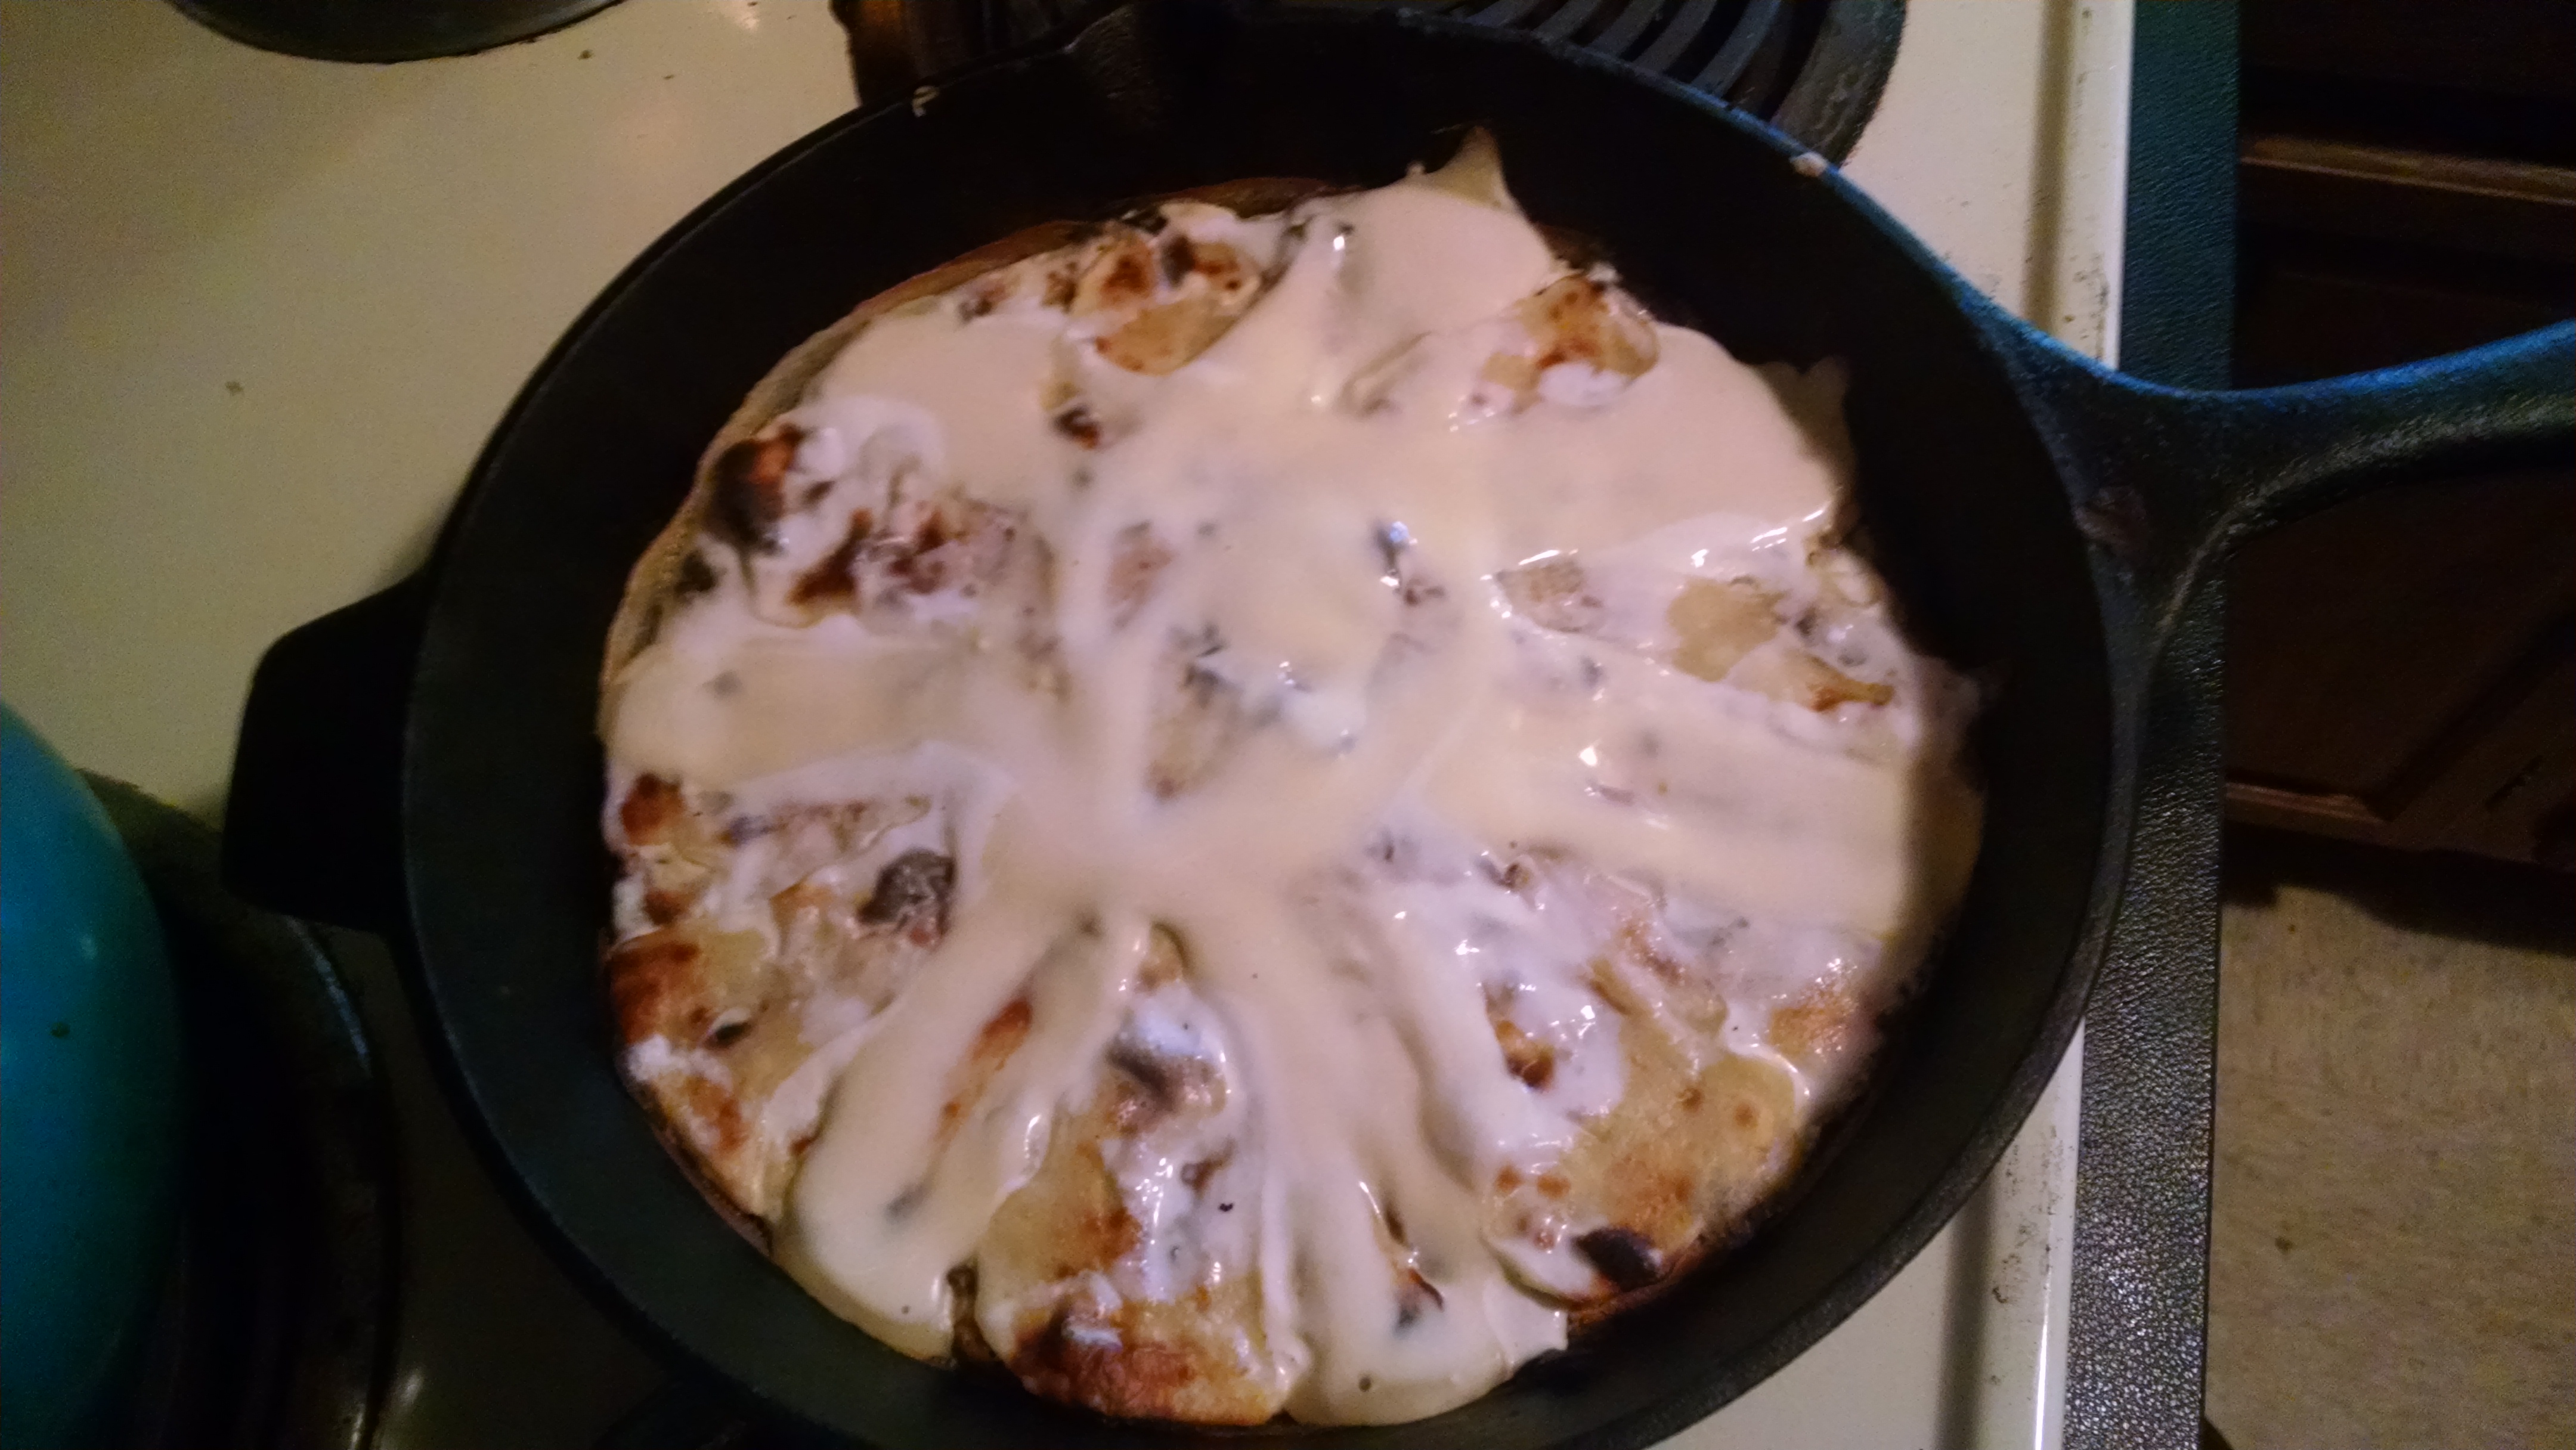
To make our Flija, we had to improvise. We used my deep cast iron pan and baked each layer under the broiler in my oven. Mistakes #1 and #2. We also played with the recipe a little bit and combined several recipes that we found. Mistake #3. None of the recipes specified whether or not the pan should be preheated – so I preheated. Mistake #4.
     The bottom layers of our dish were burnt and crispy – a result of preheating and (I think) using cast iron. All of the edges were over cooked and each layer was denser and chewier than I think they were supposed to be – a result of being in a hot oven for 3 hours and the recipe we used.
Still – we were able to taste the potential in the edible parts of our dish. We’ll be keeping an eye out for a suitable pan and lid to attempt this dish again the traditional way. I’ve included our recipe below because I’m not entirely convinced the recipe was the problem. I’ve also included a few links to a few basic recipes in case you suddenly have an afternoon free and the desire to stand next to a fire or oven for most of the day!
IMG_20160108_174523301
 
On to the recipes!

Tav Ma Presh

  • Servings: 6-8
  • Difficulty: easy
  • Print
Ingredients
  • 2-3 T olive oil
  • 3-5 large leeks, green parts removed and cut into approximately 1/2 in. diagonal slices
  • 1 medium onion, diced
  • 1 lb ground beef
  • 2 T tomato sauce
  • 2 red bell peppers, diced
  • 2-3 red jalapenos – sliced
  • beef stock
  • salt and pepper
Instructions
  1. Preheat oven to 375.
  2. Heat 2 tablespoons olive oil in a deep frying pan over medium high heat and sauté leeks until soft.
  3. Place leeks in a baking dish.
  4. Heat the remaining tablespoon of oil in the frying pan and cook the onions and the ground beef.
  5. Add the tomato sauce, red peppers, salt and pepper to taste and enough beef stock to cover everything. Bring to a boil.
  6. Pour the meat mixture over the leeks and bake for 1 hour at 375.

Serve as a side dish or with choice of potatoes.


Smashed New Potatoes

  • Servings: variable
  • Difficulty: easy
  • Print
Ingredients 

  • baby potatoes – 6-12 per person
  • olive oil
  • salt
Instructions 
  1. Preheat oven to 375.
  2. Lay potatoes on an oven safe pan and drizzle with olive oil. Stir to coat evenly.
  3. Sprinkle lightly with salt.
  4. Roast in oven for 45 minutes or until potatoes are tender. (Can also be cooked longer until skins start to get crispy.)
  5. Remove from oven and smash each potato with a fork.
  6. Pile potatoes on a platter and serve.


Tomato Cucumber Salad with Citrus Dressing

  • Servings: 4-6
  • Difficulty: easy
  • Print
Ingredients  

  • 3-4 large tomatoes – medium diced
  • 1 large English cucumber – quartered and diced
  • small bunch green onions – thinly sliced
  • 1-2 T good olive oil
  • 1-2 T lemon juice
  • salt and pepper to taste
Instructions
  1. Combine all ingredients in a medium bowl.
  2. Taste and adjust lemon juice and seasoning as needed.


Flija

  • Servings: 8-12
  • Difficulty: experienced
  • Print
Ingredients 

  • 5 eggs
  • 2 1/2 c flour
  • 3 3/4 c buttermilk
  • 1 tsp salt
  • 1 – 8 oz package cream cheese – softened
  • 2-3 T butter – melted
  • 1 c plain yogurt
  • water – as needed
Instructions
  1. Preheat the oven to broil.
  2. Combine first four ingredients in a medium bowl. Consistency should be similar to a thin pancake batter. (Batter #1)
  3. Combine last four ingredients in a separate medium bowl. Add enough water to reach a very thin consistency. (Batter #2)
  4. Using a squeeze bottle or a spoon, spread a thin layer of batter #1 on the bottom of the pan as a base.
  5. Place pan under broiler until batter is cooked and starting to brown in spots. Remove from oven and spread a thin layer of batter #2 as the second layer.
  6. In a “star” pattern, add a layer of batter #1.
  7. Bake again.
  8. Repeat these two layers, alternating the star pattern so that the “cake” slowly grows evenly, until pan is full or batter runs out.
Serve with jam, cheese, spicy vegetables, or other choice of topping.
I’ve included a few “in progress” photos to help illustrate the recipe.
clipped 2IMG_20160114_141140889_HDRIMG_20160114_142029064IMG_20160114_162642661clippedIMG_20160114_163844569_HDR
Have you been to Albania? What was your favorite dish?

Savory Gluten-Free Rolls

In the oven RIGHT NOW are some yummy gluten-free rolls! I never thought I would be putting the words “yummy” and “gluten-free” in the same sentence – but I’m pretty sure I’ve only had bad gluten-free bread in the past. I’m a believer now! These rolls have sold me – and they are sooo easy to make.

Savory Gluten-Free Rolls

  • Servings: 1 dozen rolls
  • Difficulty: intermediate
  • Print
Ingredients

  • 1 1/2 c warm water (almost as warm as you can stand to hold your finger in for about 20 seconds)
  • 1 tsp granulated sweetener
  • 2 1/4 tsp active dry yeast (one package)
  • 3 Tbsp agave nectar
  • 3 Tbsp olive oil
  • 1 Tbsp  raw apple cider vinegar (any other plain vinegar works in a pinch)
  • 1 c sorghum flour
  • 1/2 c brown rice flour
  • 1/2 c teff flour
  • 1/2 c arrowroot flour
  • 1/2 c tapioca flour
  • 1 1/2 tsp xanthan gum
  • 1 tsp sea salt
  • 1/2 tsp baking soda
  • 1/4 c chopped fresh garlic
  • 2-3 Tbsp Italian seasoning or 1 Tbsp each basil and oregano

Directions

  1. Preheat oven to 375.
  2. Oil a 12-cup muffin tin. Find a warm place to proof the rolls (the oven set at about 200 works, as does a food dehydrator set at the same temp.)
  3. Stir the warm water, sugar and yeast together in a small bowl. Set aside while you mix together the dry ingredients.
  4. In a large bowl, combine all of the dry ingredients (leaving out the chopped garlic). Whisk together to completely combine.
  5. To the small bowl with the liquids – add the agave syrup, olive oil, and vinegar. Stir well to combine.
  6. Pour the wet ingredients over the dry ingredients and quickly whisk together. Continue to whisk to get rid of any lumps and keep whisking until the batter thickens and becomes smooth.
  7. Quickly add the chopped garlic and stir until just combined. (Work quickly after all the ingredients have been added together, otherwise you might loose the little air bubbles that are being created by the baking soda and the vinegar.)
  8. Spoon mixture into the oiled muffin tin. Set in a warm place to rise for about 20 minutes.
  9. Bake in a preheated oven for 20-25 minutes (or until the tops are golden brown). Remove from oven.
  10. Allow rolls to cool for a few minutes before removing from pan (a knife may need to be run around the edge of each roll to loosen.)

Enjoy with butter, soup, or salad; or make each roll into a little mini sandwich!

Let me know what you think of these rolls! I just love them.

Feed the Family #8 – Beef Pot Pie with Easy Cheddar Biscuits

Meal number eight – Friday dinner

For dinner tonight I just thickened up last nights beef stew by throwing in a couple handfuls of flour as I reheated it. Then I made some easy cheddar biscuits that I baked in a dutch oven on top of my beef “stew” – to create an instant… Beef Pot-Pie!


Easy Cheddar Biscuits

  • Servings: 6-12
  • Difficulty: intermediate
  • Print
Ingredients

  • 2 c flour
  • 1/2 tsp salt
  • 1 T sugar
  • 4 tsp baking powder
  • 1/3 c butter
  • 1/2 c grated cheddar
  • 1/3 c milk

Directions

  1. Preheat oven to 350
  2. Combine first four ingredients in a medium/large bowl.
  3. With a pastry blender or two knives, cut in butter and cheddar.
  4. Pour in milk and stir together until just blended.
  5. Lightly flour cutting board or clean counter and gently roll out dough to desired thickness.
  6. Cut dough to desired size and place on a greased baking sheet.
  7. Bake for 20 minutes or until golden brown on top and done inside.


(I pretty much just tore pieces of dough off and flattened them into biscuit shapes that mostly fit together to cover the pot-pie. Then I baked the whole thing in the oven at 400 for about half an hour. So that’s an option too.)

Everyone loved this impromptu pot-pie!

This ends the Feed the Family Challenge. My dad is home now so he and Rosie will be taking care of feeding the kids tomorrow! Rosie has plans for breakfast that involve using up a bunch of frozen berries and some spinach…

Keep an eye out for my next “mini series” – Why Fat IS Good For You!

Meal #7

Meal number seven – Friday Lunch

Success! This was easy and fabulously tasty… Chili Pie! My sister helped me make corn bread (she even found a good recipe in her Boxcar Children Cookbook by Diane Blain), and we topped a pie pan full of leftover chili with the corn bread batter.

Here is the recipe she used…

1 1/4 c flour
3/4 c cornmeal
1/4 c. sugar
2 tsp baking powder
1/2 tsp salt
1 c milk
1/4 c vegetable oil
1 egg
            Combine all ingredients in a large bowl, pour into a greased baking pan (or on top of some chili) and bake at 400 until a toothpick or a knife comes out clean.

It did take a while longer then expected to bake (the chili was cold and I think that was a big factor), but the end result was worth the wait! We topped each bowl full with grated cheddar cheese and the whole thing magically disappeared, so fast in fact that I almost didn’t get a picture of the end result.

Ayla’s Gluten Free Cookies

My wonderful roommate Ayla invented these cookies last fall when she wanted a healthy alternative to the normal desserts that are packed full of refined, teeth-rotting sweeteners. Every couple of weeks she whips up a new batch for us to scarf down…
The recipe is as follows:

Preheat oven to 350 degrees

1/2 c. butter
2 Tbsp coconut oil (unrefined)
1 c. flax flour
1/2 c. tapioca flour
1 c. oats
1 c. shredded, unsweetened coconut
1/2 c. maple syrup or honey
1 tsp salt (preferable sea salt)
1 1/2 c. chocolate chips (the least healthy part of these cookies)
1 tsp vanilla

Mix all ingredients together until well incorporated. Drop by the spoonful (these don’t spread very much) onto a lightly greased cookie sheet. Bake at 350 degrees for about 12 min. Let cool slightly and enjoy!

Ayla has also made these with many different combination’s of gluten-free flours, as well as adding peanut butter or whole flax seeds. (The peanut butter version was a big hit!)

These cookies stay soft for at least a week. Not that I think they’ll last you that long…

Moving Frustrations…and cookies!

I was going to write a post about how frustrated I am with the way our new land lords have been handling this whole moving situation… or about the fact that our move in date keeps getting pushed back because they are still painting… and then I decided that it isn’t great to dwell on the negative…

Instead I am going to expound upon the virtues of these – Flour-less Peanut Butter Cookies – created by the Gluten-Free Girl.

After having my mom and roommate continually forget that I wasn’t eating wheat or dairy during the last two weeks – it was a joy to discover one of my favorite cookies in a wheat and dairy free form! Plus – anything from Gluten-Free Girl is bound to be wonderful, including her writing and photography. I highly recommend her blog and book to anyone who enjoys food – whether or not you are trying to go gluten-free. They are both a joy and an inspiration to read! Check out her blog here.

Bread and Bakeries

I’ve had two interviews at the Great Harvest Bread Company! The first was your basic interview – with lots of questions and four people sitting there staring at you. The second was this morning – starting at 7:15 and it consisted of me just hanging out in the bakery… pretending like I was competent and knew how to knead bread dough 🙂 Apparently they can’t decide between me and this other gal so they’re trying us both out… how do I “beat” someone I know nothing about?! It was fun though…fun people, fun to get my hands back in some dough and flour 🙂

Interesting experience too because the only real bakery experience was with the Moscow Food Co-Op – and even though there are plenty of similarities, there are also a few large differences. Mostly with the way the dough is shaped or kneaded. At the Coop we SHAPED our loaves… they really ended up looking like little bread loaves before they were even in the pan. We also folded most batches of dough part way through letting it rise… and we let the loaves proof or rise for a longer amount of time before actually going in the oven. The Coop was also trying to make “crusty artisan” type bread.
At Great Harvest the dough is pretty much kneaded into a smooth ball and then rolled into a log a little longer than the pan so that when it’s put in the pan the middle is kind of “perky”. As far as I can tell none of the doughs are folded. The rise and baking I’m not sure about yet – although they are much more careful about temperatures then the Coop… and they are making pretty much all soft loaves.

It’s just interesting to see the differences. One thing that will be huge (and hopefully not to hard to get used to, if I get this job) is the pace that Great Harvest keeps. Many more doughs a day – and I thought we were pretty steady for the little while I was there but apparently they normally go MUCH faster with less people. Well – we’ll see if a get a job offer… until then…

I am excited to try their Gluten-Free Bread sometime – job or no.

Speaking of bread… here is a wonderful Blue Cheese Spread that goes really fantastically with a lot of different breads!

Blue Cheese Spread

Ingredients

  • 3 lb Cream Cheese – room temp
  • 2 cups Walnut pieces – toasted
  • 1 cup Sour Cream
  • 1 Tbsp Black Pepper
  • 1 bunch Green Onions – chopped
  • 1.25 lb Blue Cheese Crumbles
  • 1 bunch Parsley – chopped

Combine the first four ingredients and mix well. Add the last three ingredients and mix until incorporated. (I think the reason for this is so that those last three don’t completely disintegrate).

After it’s all mixed – taste it and add a little more pepper or some salt if needed.

Serve with bread or crostini or roast beef or whatever your taste buds tell you would taste good! Enjoy!

I love this spread so much because the blue cheese is really flavorful without being overwhelming. So yummy…