Fish Sauce

From Nourishing Traditions by Sally Fallon – on fish sauce in soup

“Another excellent addition to soup is fish sauce. You can make this yourself (see below), or buy a Thai or Vietnamese variety (called nam pla or nuoc mam). These clear brown fermented sauces, made from small whole fish including the head and organs, are rich in iodine and other substances that benefit the thyroid gland. On heating the fishy taste disappears but the nutrients remain. You may add fish sauce to any heated soup instead of salt.”

Fermented Fish Sauce – makes about 2 cups

1½ lbs small fish, including heads, cut up (sardines work well)

3 Tbsp sea salt

2 c. filtered water

2 cloves garlic, mashed

2 bay leaves, crumbled

1 tsp peppercorns

several pieces lemon rind

1 Tbsp tamarind paste (optional)

2 Tbsp whey

Toss fish pieces in salt and place in a wide-mouth, quart-sized mason jar. Press down with a wooden pounder or meat hammer. Mix remaining ingredients and pour over fish. Add additional water to cover fish thoroughly. The top of the liquid should be at least 1 inch below the top of the jar. Cover tightly and leave at room temperature for about three days. Transfer to refrigerator for several weeks. Drain liquid through a strainer and store fish sauce in the refrigerator.

Coconut Chicken Soup

Doesn’t this just sound so good?! I found this recipe in a book that makes me feel like I really CAN eat the way God intended me to… Nourishing Traditions by Sally Fallon.

Now, I have yet to make this soup – but I’m going to the first chance I get! (If you try it before I do – let me know what you think…)

Coconut Chicken Soup

1 qt chicken stock
1½ c. whole coconut milk
¼ tsp. dried chile flakes
1 tsp. freshly grated ginger
juice of one lemon
sea salt or fish sauce (more later on fish sauce)
several green onions, finely chopped
1 Tbsp. finely chopped cilantro

Bring the stock to a boil, skim any foam that rises to the top and add coconut milk, lemon juice, chile flakes and ginger. Simmer for about 15 minutes, Season to taste with salt or fish sauce. Ladle into soup bowls or mugs and garnish with onions and cilantro.

Serves 4

Quinoa – what is it?

Quinoa is making a comeback as a popular alternative to other more widely recognized grains. Here is some of what Wikipedia has to say about this tasty… seed??

Quinoa (pronounced /ˈkiːnwɑː/ or /kɨˈnoʊ.ə/, Spanish: quinua, from Quechua: kinwa), a species of goosefoot (Chenopodium), is a grain-like crop grown primarily for its edible seeds. It is a pseudocereal rather than a true cereal, or grain, as it is not a member of the grass family. As a chenopod, quinoa is closely related to species such as beets, spinach, and tumbleweeds. Its leaves are also eaten as a leaf vegetable, much like amaranth, but the commercial availability of quinoa greens is currently limited.

The Incas, who held the crop to be sacred, referred to quinoa as chisaya mama or ‘mother of all grains’, and it was the Inca emperor who would traditionally sow the first seeds of the season using ‘golden implements’. During the European conquest of South America quinoa was scorned by the Spanish colonists as ‘food for Indians’, and even actively suppressed its cultivation, due to its status within indigenous non-Christian ceremonies. In fact, the conquistadors forbade quinoa cultivation for a time and the Incas were forced to grow wheat instead.

Quinoa was of great nutritional importance in pre-Columbian Andean civilizations, being secondary only to the potato, and was followed in importance by maize. In contemporary times, this crop has become highly appreciated for its nutritional value, as its protein content is very high (12%–18%). Unlike wheat or rice (which are low in lysine), and like oats, quinoa contains a balanced set of essential amino acids for humans, making it an unusually complete protein source among plant foods. It is a good source of dietary fiber and phosphorus and is high in magnesium and iron. Quinoa is gluten-free and considered easy to digest.

Preperation
Quinoa has a light, fluffy texture when cooked, and its mild, slightly nutty flavor makes it an alternative to white rice or couscous.

A common cooking method is to treat quinoa much like rice, bringing two cups of water to a boil with one cup of grain, covering at a low simmer and cooking for 14–18 minutes or until the germ separates from the seed. The cooked germ looks like a tiny curl and should have a slight bite to it (like al dente pasta). As an alternative, one can use a rice cooker to prepare quinoa, treating it just like white rice (for both cooking cycle and water amounts).

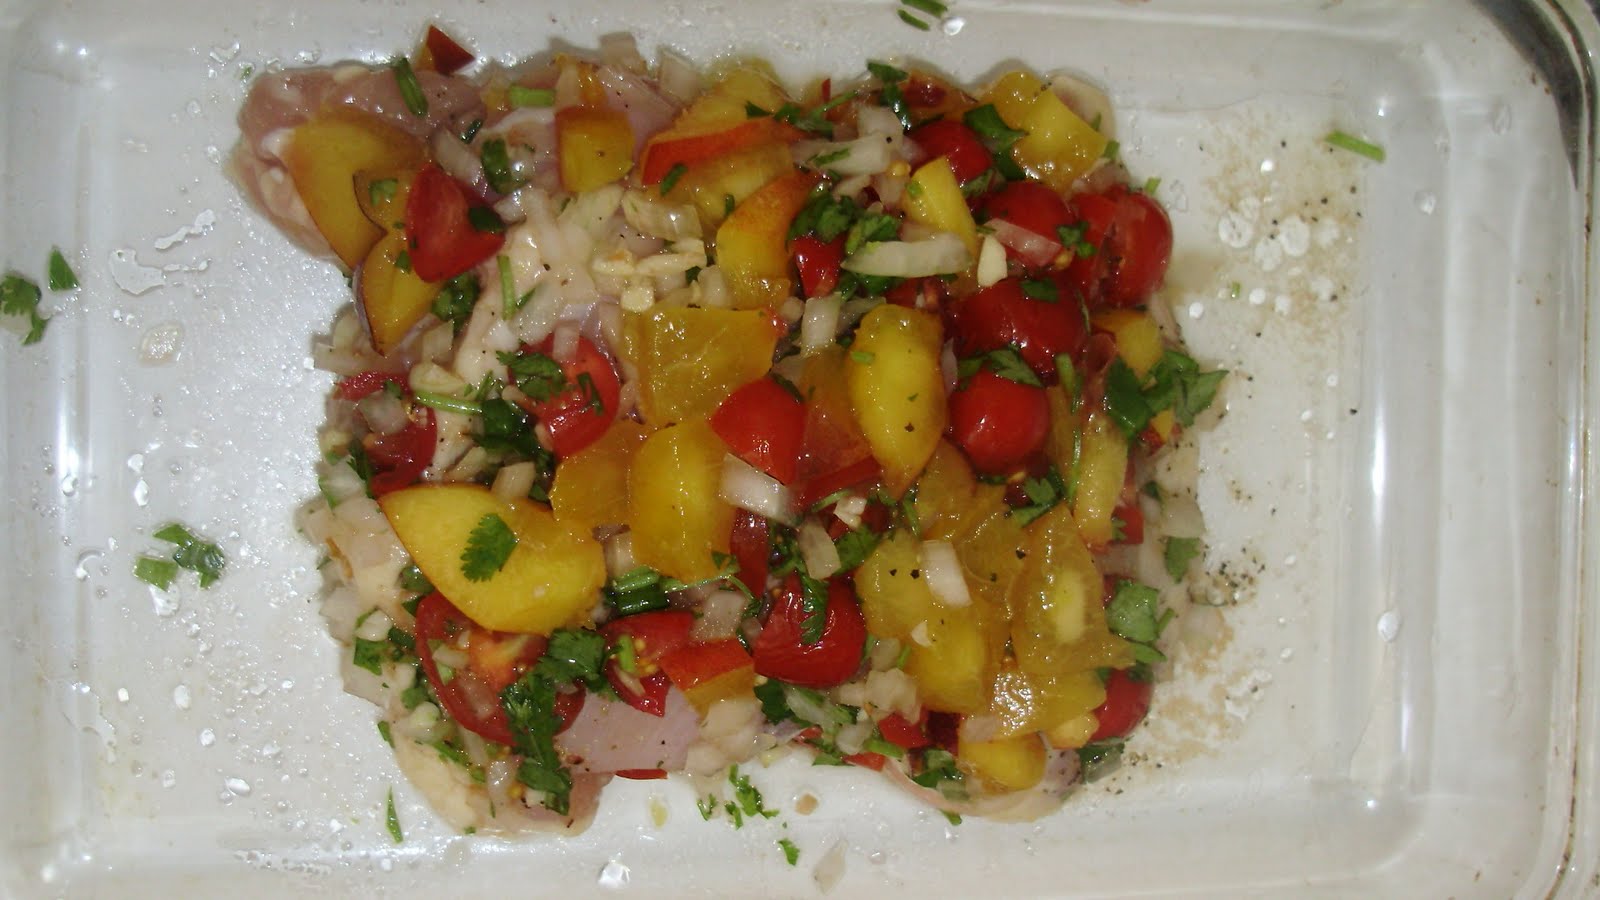
Vegetables and seasonings can also be added to make a wide range of dishes. Chicken or vegetable stock can be substituted for water during cooking, adding flavor. It is also suited to vegetable pilafs, complementing bitter greens like kale.

Quinoa can serve as a high-protein breakfast food mixed with honey, almonds, or berries; it is also sold as a dry product, much like corn flakes. Quinoa flour can be used in wheat-based and gluten-free baking.

Quinoa may be germinated in its raw form to boost its nutritional value. Germination activates its natural enzymes and multiplies its vitamin content.[15] In fact, quinoa has a notably short germination period: Only 2–4 hours resting in a glass of clean water is enough to make it sprout and release gases, as opposed to, e.g., 12 hours with wheat.[citation needed] This process, besides its nutritional enhancements, softens the grains, making them suitable to be added to salads and other cold foods.

I for one, love this interesting grain 🙂

Southwest Quinoa

Here’s another of my favorite salad recipes! This is a great way to get some healthy protein without eating meat. This salad tastes fresh and bright and happy. If you haven’t found a way to enjoy quinoa, try this. Trust me!

Southwest Quinoa Salad

  • Servings: 4-6
  • Difficulty: intermediate
  • Print
Ingredients

Dressing:

  • 1 heaping T grated lime zest
  • ¼ c. fresh lime juice
  • 6 Tbsp extra virgin olive oil
  • 1 T maple syrup or 1 tsp granulated sweetener
  • 1 tsp sea salt
  • ½ tsp ground pepper

Salad:

  • 2 c quinoa – rinsed well (soak for a few minutes, drain in a fine strainer)
  • 4 c water
  • 2 cans black beans – rinsed well (or about 3 c. cooked black beans, rinsed well)
  • 4 medium tomatoes – diced
  • 1 bunch green onions – finely chopped (including most of the green part)
  • 1 c fresh cilantro – coarsely chopped

Instructions

  1. Simmer quinoa in water, uncovered, about 10 minutes.
  2. Turn off heat, cover, and let stand 10 minutes. Strain any excess water. (Quinoa seems to cook up about the same way rice does – so you should be safe using using your favorite “rice cooking” method.)
  3. Whisk the dressing ingredients together in a bowl or blend together in a food processor to emulsify.
  4. Combine dressing and quinoa in a large bowl and stir to coat evenly.
  5. Add remaining ingredients. Stir to combine.
  6. Taste and add a little salt or lime juice if needed to bring out the flavor.

This can be served hot or as a cold salad – it’s delicious either way!


Tony O Rama Bars and Job Hunting

Job hunting makes me SCREAM! I’m just tired of filling out applications with all of the same information that’s on my resume, chatting with people that “ooh” and “aw” over my resume, and then never getting a job.
So what do I do? After another afternoon of filling out applications and turning them in – I drove to the downtown Bellingham Co-Op and continue my search (and blog writing) with the wonderful help of a gluten free Tony O Rama Bar! I don’t know why they call it that – it’s a coop thing.
This bar is like nothing I’ve ever had! I haven’t attempted to duplicate the wonderfulness yet – but I will.
The ingredients are simple: chocolate chips, peanut butter, powdered sugar, vegan (blegh) butter, coconut, brown sugar. It’s pretty much this slab of peanut buttery, coconuty heaven with another slab of coconut chocolaty goodness on top! Words can not describe. And the great thing about this bar is NO GLUTEN! So other than that 1/4 pound of sugar I just inhaled – there’s no guilt! Not that I usually have any type of guilt when I’m eating – but since Hannah and I ate most of a huge loaf of bread on the way home from the store yesterday, I’m working on cutting back on the wheat today 🙂
So the lesson to be learned here is: if life hands you something frustrating – chocolate, coconut and peanut butter will fix it!

Salsa and Salsa Nectarine Chicken


I made some great fresh salsa earlier – because really… what is better then fresh salsa and crispy tortilla chips for a mid afternoon snack? For my salsa I quartered cherry tomatoes, finely diced part of a white onion, very finely chopped three garlic cloves, and chopped a large handful of cilantro leaves. I threw everything together in a handy bowl and sprinkled in some sea salt and ground pepper. Voila! Salsa!

After eating about half the bowl – I was still hungry… so – the following recipe was born!

You’ll need:

chicken pieces (I used a giant thigh)
salt
pepper
granulated garlic
a little oil
a few pieces of nectarine
and the a fore mentioned salsa

Preheat the oven to 400. Put a little bit of oil in a glass baking pan – so the chicken won’t stick. Place the chicken in the pan, spread as evenly as possible. Sprinkle with salt, pepper, and granulated garlic. Spoon some of the salsa on top of the chicken. Dice up the nectarines and add them to the salsa on top of the chicken. Spread the nectarines and salsa out so that the chicken in completely covered. Kind of press everything together so it will stick. Anything that falls off into the pan should be scooped back on top or tucked under the chicken pieces. (I suppose that last part is easier when you’re using a boneless piece of chicken…) Bake until the chicken is done (180). Enjoy – preferably with a cold beer and some more chips!

P.S. Be sure to use plenty of salt on the chicken… mine could have used a bit more.

Yogurt!


I made some yogurt last night – while destroying the rest of my kitchen… It’s been a while since I’ve made yogurt, I made a few batches when I was in Moscow but I think the last one was before Sara and I went to Mexico. Anyways… it was long over due.

milk
yogurt starter or plain yogurt
a big pot
mason jars

Making yogurt is easy with or without a yogurt-maker. Simply heat your milk (I used a gallon of whole milk) to just before the boiling point – bubbles should be rising and there should be a lot of steam. At this point turn the stove off and let the milk cool down to between 108-112 degrees(F)(the milk is the right temperature if you can hold your finger in it for a slow count of ten). Cooling the yogurt down takes a long time. Once the milk reaches the right temperature – add the starter to the milk (use a packet of yogurt starter or a large spoonful of plain yogurt for each liter of milk, mix the starter into a small amount of warm milk before adding it to the rest of the milk). Fill clean mason jars with yogurt, put them in a prewarmed oven and cover with a clean dish towel. I warm my oven up a little bit and then shut it off right before I put my jars of yogurt in. I have a pizza stone in my oven to help hold on to some of the heat. Let your yogurt sit in the oven for 6-8 hours depending on how firm you want it to be. About half way through – or whenever you remember to – boil a small pan of water and set it in the oven to help keep everything warm. Once the yogurt has set – cover it and refrigerate for at least one hour before using.
Enjoy your homemade yogurt with granola, in smoothies, with fruit, in sauces, on rice, on it’s own, etc.

Tomato Sauce and Broken Sinks


Today I spent a large portion of the morning and afternoon cutting bad spots out of tomatoes, dicing the good parts up, and cooking them down into a yummy tomato sauce. Well – at least that’s what I was doing until some tomatoes got stuck to the bottom of the pan and burnt. And then the pipes under my kitchen sink decided to start spewing water everywhere.
So right now I have a sink full of dishes, a pan that I can’t clean, a trashed kitchen for my landlord to enjoy and bowls full of half cooked tomato sauce sitting on both counters! Pretty soon though – I’ll have lots and lots of home made tomato sauce sitting up in my cupboard!

How to create a mess in your kitchen OR Preparing the harvest…


Yesterday Ayla and I were given 7 boxes of fruit and vegetables that were on their way to being compost! Let me tell you – I have never been that excited to see rotting produce…
So last night, we went to town – sorting, peeling, cutting, freezing, cooking and canning. It’s a good feeling to know that your freezer is full of enough french fries to last the rest of the year, and that all those plums are going to make some great BBQ sauce – but boy does it take a toll on your kitchen!

Creamy Blueberry Smoothie

I currently have a shortage of ingredients in my house to make anything cool and sweet with. And today was so hot that it really called for something cool and sweet. So I took the few ingredients that I do have and came up with a refreshing and creamy snack!

about 3/4 cup frozen blueberries
1 container plain yogurt (personal size)
2 Tbsp whipping cream
a drizzle of maple syrup
1 tsp of white sugar (I would have used only maple syrup but I ran out)

Throw all ingredients into a blender or something similar and blend away! Serve immediately (although I suppose this could in the freezer for a while to keep it cold).

The whipping cream makes this smoothie wonderfully satisfying!